A pop-up survey could appear while you're here --curious what it's for? Click here to learn more!
×Community resources
Community resources
Community resources
- Community
- Q&A
- Jira Service Management
- Opsgenie
- Articles
- How to get schedule data from Opsgenie into CSV format
How to get schedule data from Opsgenie into CSV format
Atlassian's advanced incident management platform, Opsgenie, enables you to ensure that you can respond to critical incidents in the shortest possible time. It empowers you to take action at any point in time. Through your monitoring systems and custom applications, Opsgenie receives alerts and ranks each of these based on their importance and when they occur.
In order to get an overview of your team's workload, it can be helpful to export the data contained in Opsgenie for appointments. CSV is a practical format for export, as it can be used opened by a broad range of applications.
In this article we will show you how to export appointment data from Opsgenie in CSV format. We will use a practical use case by one of our consulting customers as an example. You can thereby adapt this example to your situation and solve your own personal use case.
Through our practical example to your data overview from Opsgenie
We recommend using Postman for the HTTP requests. We will also use Postman for this tutorial.
In order to eventually have a user-friendly and readable export of who worked and when. We first need to understand how many schedules there are in our Opsgenie. For this, Atlassian provides an GET Schedule API:
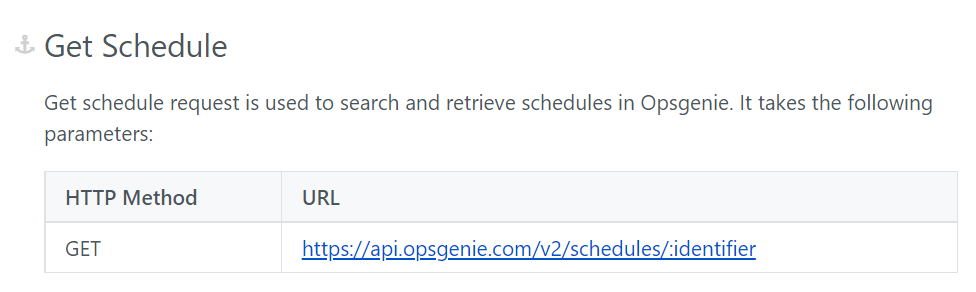
The result of this query should be a list of the available schedules in your instance, and, most importantly, the relevant Schedule ID.
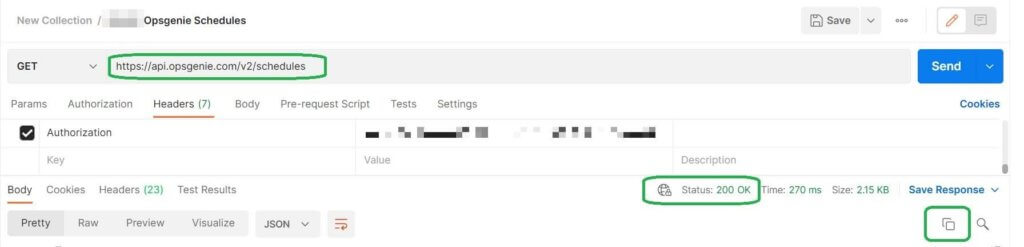
When performing the GET for our client, Postman has shown the status 200 OK. So the GET was successful. In our example, the client used more than one schedule.
Now, a copy of the data can be made in JSON by using the copy tool (see bottom right of the screenshot below).
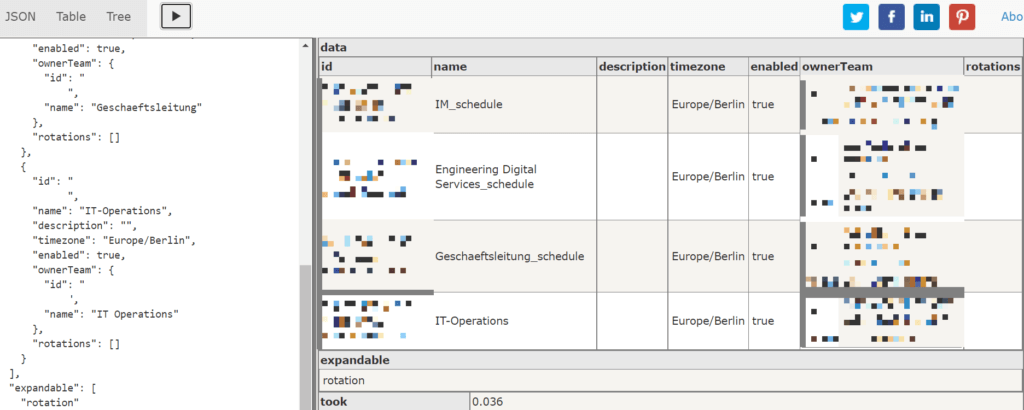
The data can then be inserted into a JSON renderer to get a descriptive overview of the data (for example, the following JSON renderer can be used for this: http://json2table.com/#). After the data has been inserted there, the names of the individual schedules and their IDs can now be seen. In our customer example, the following view was generated:
Now, we know the ID for the schedule, we can amend the next API in order to retrieve a query with the schedule information.
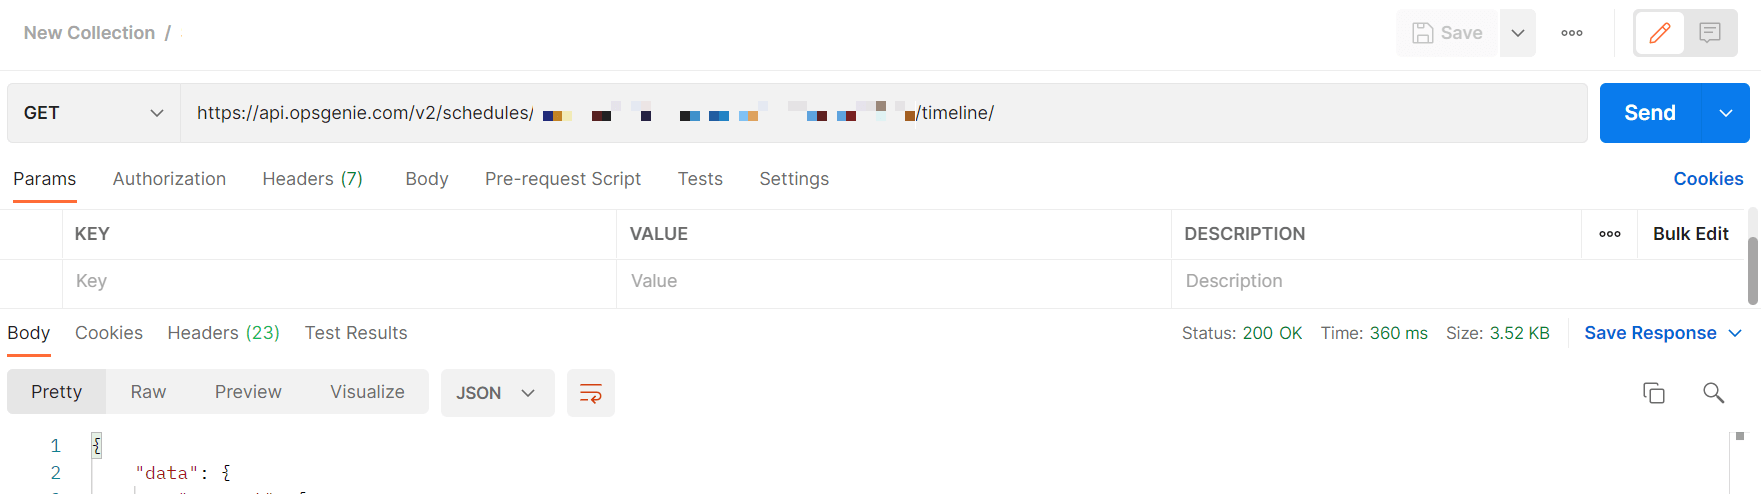
<https://api.opsgenie.com/v2/schedules/:identifier/timeline>To retrieve the timeline for a schedule, the identifier retrieved from the timeline GET must be inserted. In the case of our client, we retrieved the timeline for the IT Operations schedule with this GET:
https://api.opsgenie.com/v2/schedules/70a07640-02a9-4d4a-8935-8384b839f331/timeline/With the same authorisation in the headers, we have again obtained a status of 200 OK. If your status is also OK, you can go ahead and copy the data generated by the GET again and paste it into a JSON renderer to get a descriptive view of the data again.
After the data has been inserted into JSON renderer, the schedule for a week can be viewed. In the case of our client, the overview generated in the process looked like this:
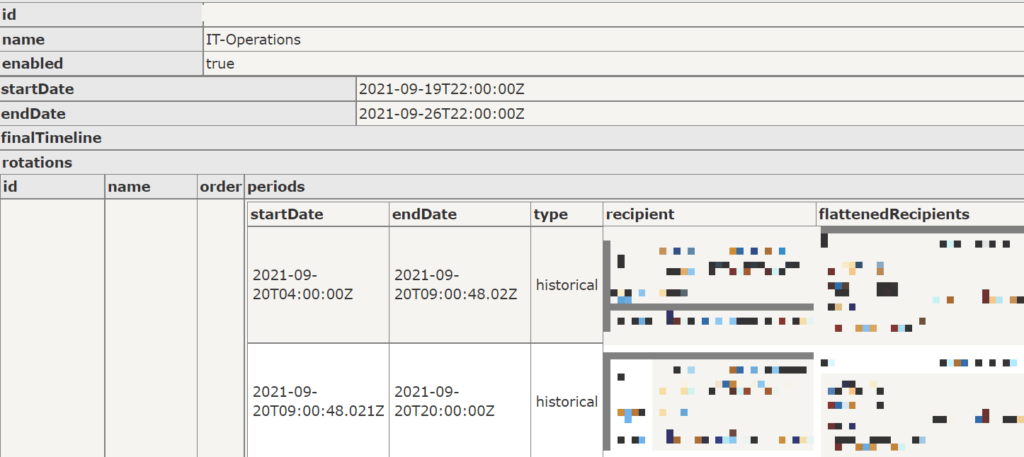
Alternatively, the JSON data can be entered directly into a tool that converts it into a CSV file. This allows the data to be downloaded and displayed directly in Excel.

If you want to get a whole month of data at once, you have to change the timeline GET by appending an IntervalUnit as follows:
https://api.opsgenie.com/v2/schedules/70a07640-02a9-4d4a-8935-8384b839f331/timeline?intervalUnit=months&date=2021-08-22T22:00:00ZThe modified timeline GET must then be entered into Opsgenie as before:

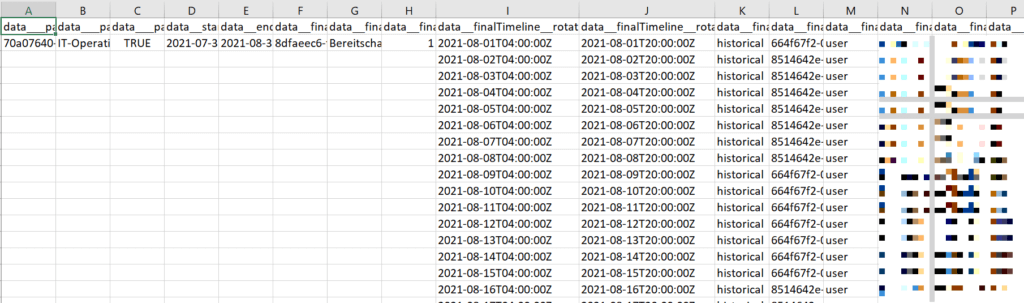
In the example, we again got a status of 200, so we could copy this data in JSON format and paste it directly into the renderer. By entering this, the renderer creates a CSV file like the following:
Follow the steps described, and you too will be able to export appointment data from Opsgenie in CSV format.
Was this helpful?
Thanks!
Andreas Springer _Actonic_
0 comments