Community resources
Community resources
Community resources
How to generate a report of time logged per person, per project and per task
Jira offers robust features for tracking tasks, sprints, and projects. Planyway, on the other hand, is a versatile planning and time tracking tool that seamlessly integrates with Jira, enhancing its capabilities. This integration allows for detailed tracking and reporting of time spent on individual tasks, by each team member, across various projects. Let's explore how it works together.
1. Logging Time
To begin, add Planyway to your Jira environment through the Atlassian Marketplace. Once installed, configure it by connecting your Jira projects. This setup enables Planyway to sync your tasks and allow for direct time logging against them.
With your tasks synced in Planyway, logging time is straightforward. Click on a task and enter the time spent either right inside a Jira card or explore dedicated Planyway time tracking views like Calendar and List for easier time tracking.
2. Generating Time Tracking Reports
Now, let's dive into the core of this guide: generating detailed reports.
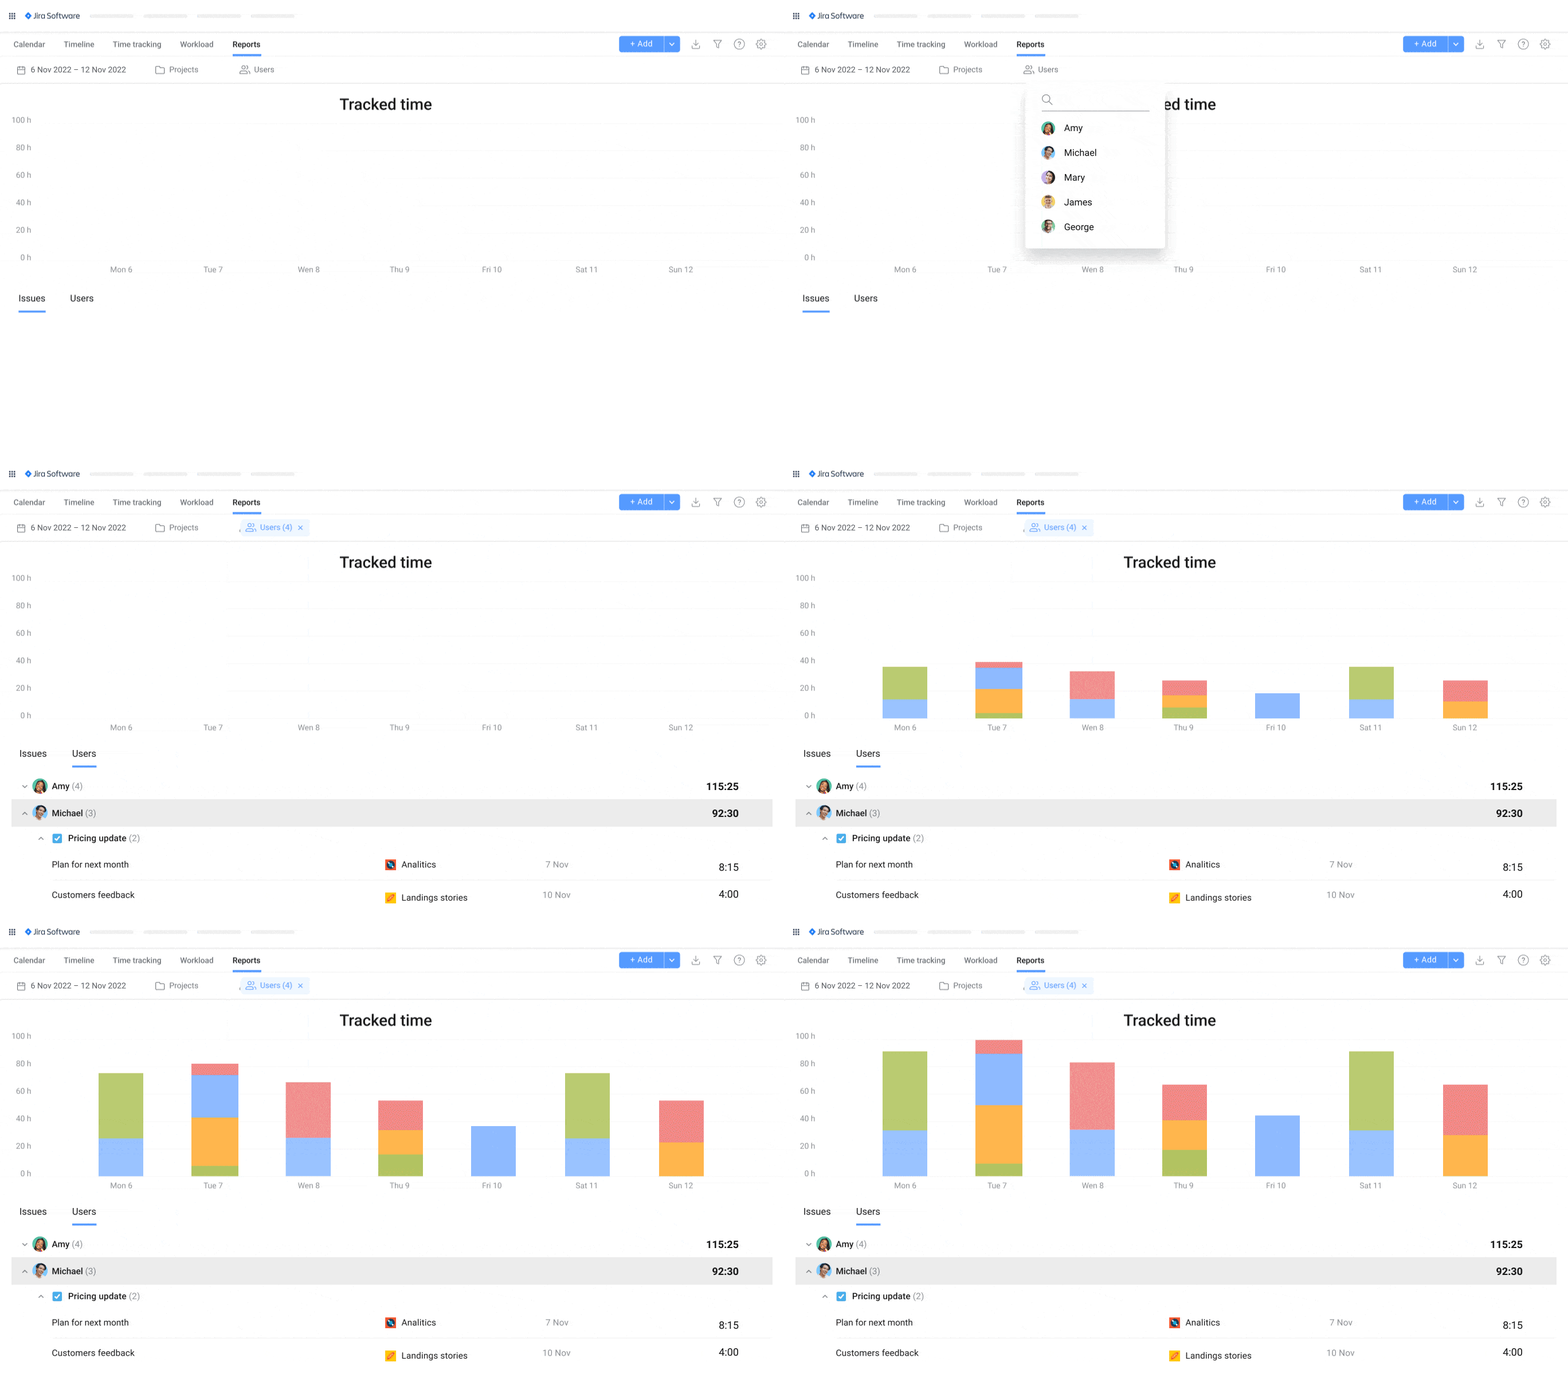
- Time per Person: This report shows the cumulative time each team member has logged. To generate it, choose Jira projects and team members you’re interested in on the top. Then, below the graph, you will view the detailed information on tracked time by each team member.

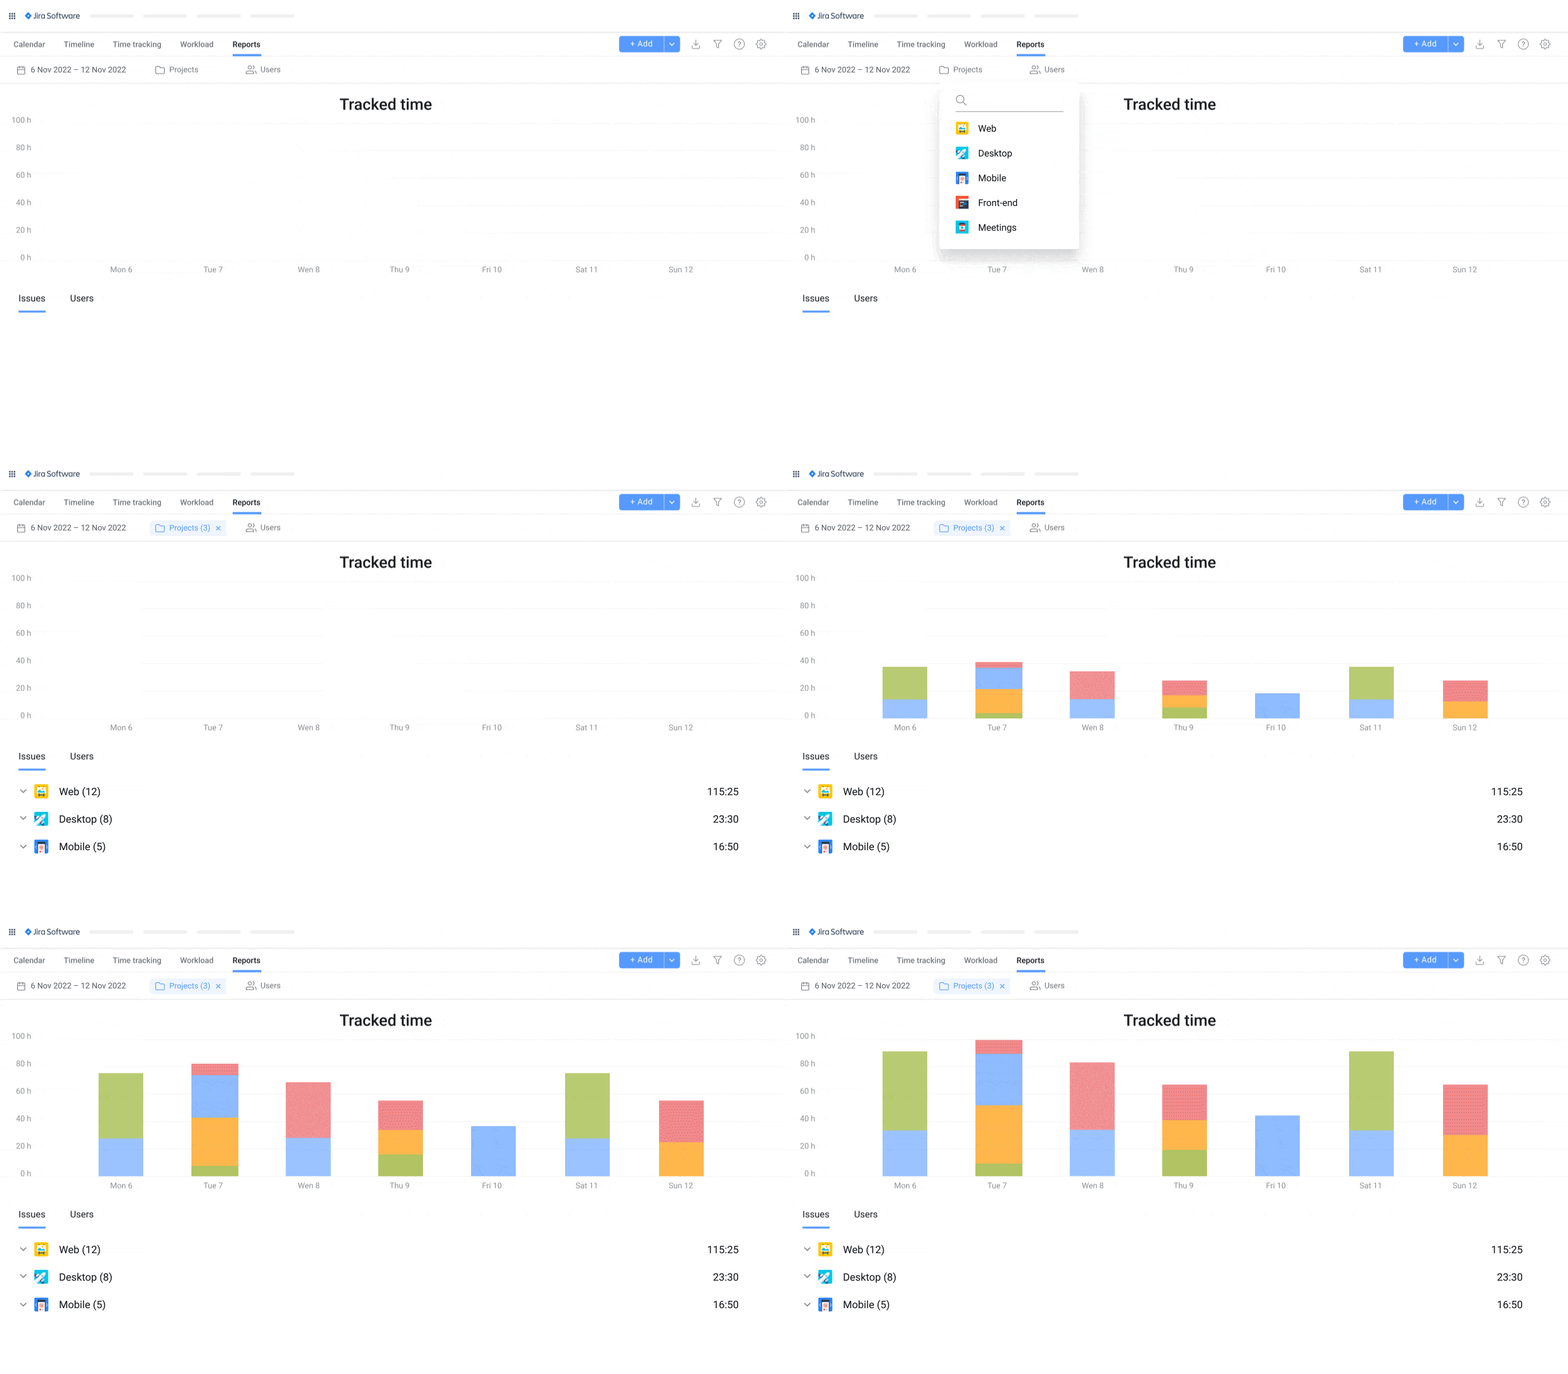
- Time per Project: To view the total time spent on each project, select all the connected projects on the top and view the report below the graph. This report is instrumental in understanding project labor costs and efficienc

- Time per Task: While there are two report options by project and by team members, both of them can be further investigated from the task perspective. It's crucial for micro-level analysis and helps in identifying tasks that are taking more time than anticipated.
3. Exporting Data To Excel
In case you'd like to process your project data further or need to share it with external stakeholders, everything you have visualized in Planyway can easily exported to a CSV or Excel file.
![]()
Hope this guide will be a starting point to explore these features, and you'll see a noticeable improvement in how your team tracks and reports time.
We’d love to hear how you're using Jira and Planyway for time tracking in your projects! Share your experiences in the comments below and engage with the Atlassian community for more insights and discussions.
Was this helpful?
Thanks!
Mary from Planyway
About this author
Customer Support Manager at Planyway
Planyway
Kazakhstan
64 accepted answers

0 comments