Community resources
Community resources
Community resources
How to confirm your Jira Cloud subscription and billing details
How to confirm your Jira Cloud subscription and billing details
Here's some information on how to confirm your subscription with Jira Cloud and enter your billing details.
Note: This is for the Cloud version of Jira, and NOT the Server, on-premise or self-hosted versions of Jira.
Filling up your Billing details
Step 1: Go to jira.com on your desktop web browser. If you can't see the login button on the top right, you will need to view the desktop version of jira.com
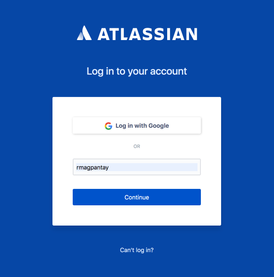
Step 2: Login to your Atlassian account.
Step 3: Select the Jira product you signed up on (either Jira Software, Jira Service Desk or Jira Core).
Step 4: Click on the site you want to subscribe on. This is usually the site you're currently trialling or have finished the trial on. You should be then redirected into Jira.
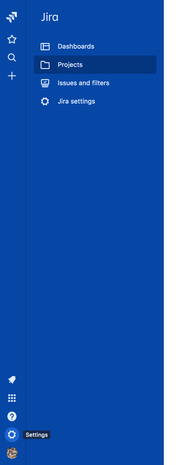
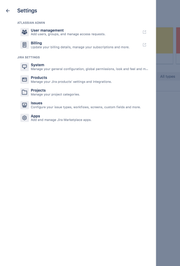
Step 5: Go into Jira Settings.
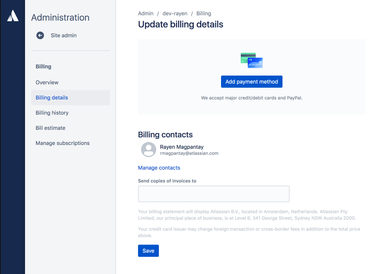
Step 6: Click on Billing. This is your space for all things Billing & subscriptions.
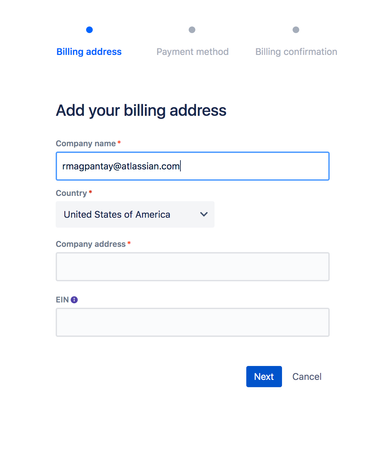
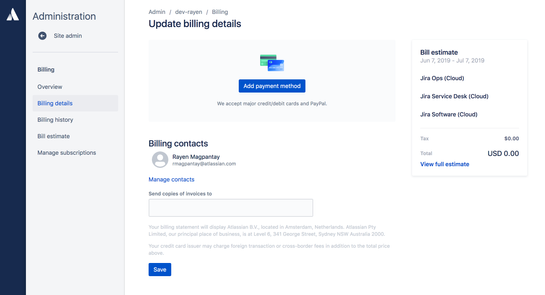
Step 7: Click on "Add payment method." Follow the steps to enter your Billing Address, Payment Method and Confirmation.
Step 8: Done! You've now set up your Billing details and new Jira subscription.
Estimate your Bill
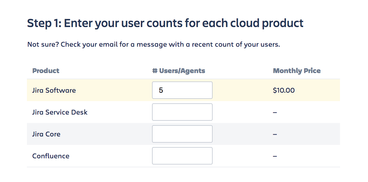
Atlassian products use per-user pricing. This means that for every user, you get charged a set amount. For bigger teams with many users, the price becomes cheaper.
Use the calculator here to estimate your monthly bill here: https://www.atlassian.com/software/pricing-calculator?tab=monthly-pricing
Managing your Bill
Step 1: Add your payment details under Billing details.
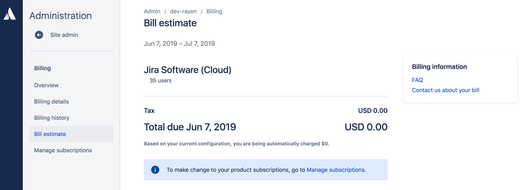
Step 2: Look at the Bill estimate to see when the billing period ends. You will get charged an amount based on the number of products and users you have, at the end of the billing period. Eg. a billing period of June 7 to July 7 means that you will get charged on July 7 based on the number of users you have in your Jira site.
Step 3: You can view past bills under Billing History.
When your Bill gets paid
You will receive a courtesy email with a Bill Estimate , 3 days before your billing date.
You can also go to Bill Estimate to see the billing period. You will get charged on the billing date, which is at the end date of that billing period. We will automatically bill you based on the Payment Details you have added in your Billing details on the billing date.
You will be billed based on the exact user count with access to products at the end of every billing cycle. For example, for a monthly billing cycle: At the end of 1 month, you will get billed based on the exact amount of users on the billing date.
If you remove users before the end of the month you won't get charged on the users you removed. You will only get charged on the exact amount of users on the billing date.
Note that the user count is automatically adjusted when site administrators add or remove users.
Need more information?
Please visit the FAQ here: https://www.atlassian.com/licensing/cloud
Was this helpful?
Thanks!
Rayen Magpantay

TAGS
Atlassian Community Events
- FAQ
- Community Guidelines
- About
- Privacy policy
- Notice at Collection
- Terms of use
- © 2025 Atlassian




1 comment