Community resources
Community resources
Community resources
Unleashing the Power of Subtask Visualization: Your Checklist Items Will Never Be the Same!
Are you tired of your checklist items hiding shyly in the corner of your Trello cards, whispering for attention? Want to bring them front and center where they can bask in the glory of your project management spotlight? Well, buckle up, because we're about to make your checklist items strut their stuff across the calendar and timeline views like they're walking the red carpet!
🎉Step 1: Getting Planyway on Your Team
First things first: if Planyway isn’t part of your Trello family yet, it’s time to send out an invite. Just head to the Trello menu, find the "Power-Ups" section, and search for "Planyway". Click 'Add' and voilà! Planyway is now ready to play.
🎉Step 2: The Great Migration (of Checklist Items to Cards)
Now, let’s get those checklist items out in the open! Traditionally, these little guys are stuck inside their parent cards, but no more. With Planyway, each checklist item can be visualized on the calendar or timelines as well as its parent card. Why? Because sometimes, they grow up and need their own space.
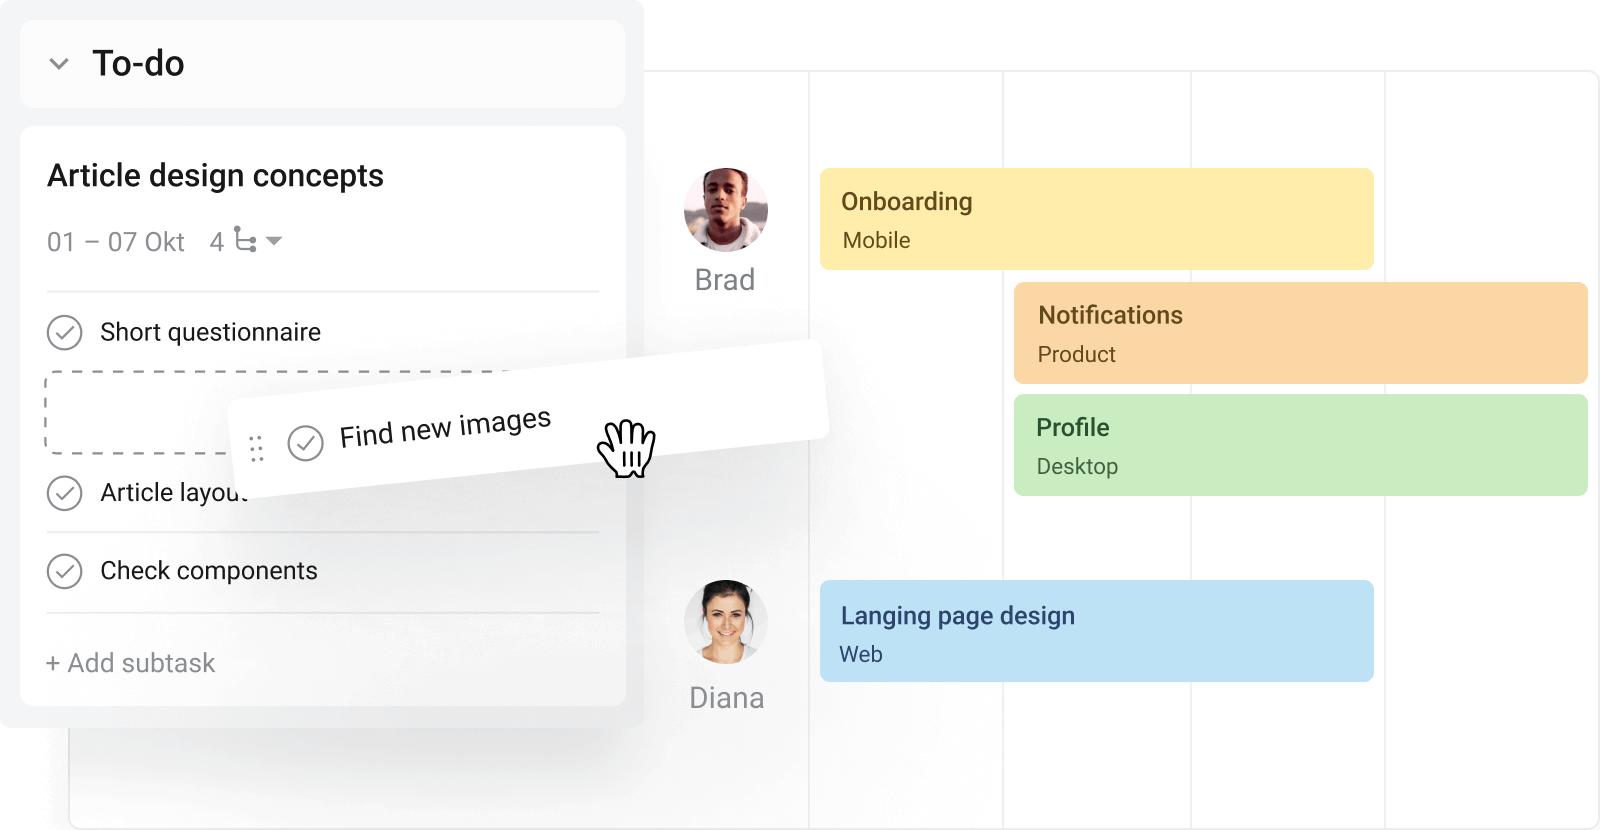
Here’s how you make the magic happen:
- Open your Trello board and click on the Planyway calendar icon (it’s the one that looks like it could schedule your next vacation).
- Now, look at the beautiful Planyway panel unfolding. Click on the "Checklist" icon on the right side of the panel.
- Drag each checklist item out onto the calendar or timeline. Otherwise, you can simply add sated to a checklist item inside a card either in Planyway or Trello and watch how it shows up in the calendar/timeline view along with other cards.
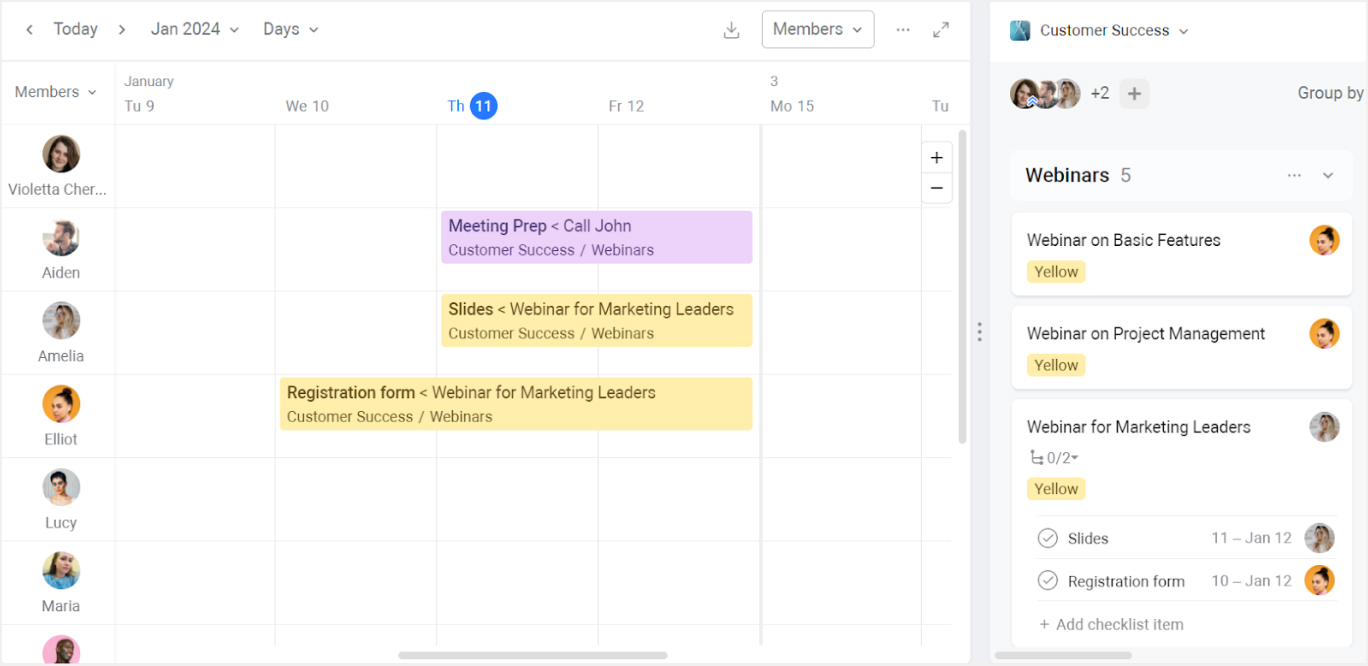
🎉Step 3: Visualize Like a Boss
With your checklist items now boldly standing as cards, you can:
- Assign due dates that make sense (because "someday" isn’t a real date, even though we wish it was).
- Set reminders that pop up like friendly little gophers reminding you of your tasks.
- Assign these to team members (because sharing is caring, right?).
🎉Step 4: Stand Back and Admire
Now that your checklist items are all grown up and have moved out into the calendar and timeline views, stand back and admire your work. Your Trello board has now transformed into a vibrant, dynamic hub of activity where no task is left behind, and every little item gets its day in the sun.
🌟Wrapping It Up🌟
Using Planyway in Trello to elevate your checklist items to their own cards is more than just a productivity boost—it’s a way of life. It’s about giving every task, no matter how small, a chance to shine and an opportunity to be part of the bigger picture.
Happy planning, fabulous planner!
Was this helpful?
Thanks!
Mary from Planyway
About this author
Customer Support Manager at Planyway
Planyway
Kazakhstan
64 accepted answers
0 comments