Community resources
Community resources
Community resources


Automated SLAs in Jira: Supercharge Your SLA Compliance with SLA Time and Report
Maintaining high customer service standards is paramount in today's fast-paced business environment. One key aspect of this is managing and meeting Service Level Agreements (SLAs). For Jira users, the challenge often lies in effectively tracking and reporting on SLAs to ensure compliance and customer satisfaction. This is where the SLA Time and Report add-on steps in, offering a powerful solution to streamline SLA management through automation and comprehensive reporting.
Benefits of Using SLA Automation
Improved SLA Compliance
By automating SLA tracking and providing real-time notifications, SLA Time and Report significantly improve your team's ability to meet SLA commitments. This leads to higher customer satisfaction and trust in your services.
Enhanced Efficiency
Automation reduces the manual effort required to track SLAs, allowing your team to focus on resolving issues rather than managing compliance. This boost in efficiency can lead to faster issue resolution times and a more productive team.
Data-Driven Decision Making
The comprehensive reporting features of SLA Time and Report provide valuable insights into your team's performance. By analyzing these reports, you can make informed decisions to optimize your processes, allocate resources more effectively, and continuously improve your SLA compliance rates.
Seamless Integration
The add-on's seamless integration with Jira means that your team can adopt it without significant changes to their existing workflows. This ease of integration ensures quick adoption and minimal disruption to your operations.
Use case
It was difficult for a medium-sized IT service provider to manually monitor and fulfill Service Level Agreements (SLAs) with all of their clients. This manual procedure resulted in irregularities and sporadic deviations from the agreed-upon service levels.
The organization was able to automate SLA tracking and monitoring by putting automated SLA management systems into place. This involved proactively managing customer expectations, guaranteeing prompt responses, and putting up automated notifications for impending SLA deadlines and breaches.
The automation of SLA monitoring greatly enhanced the company's capacity to meet SLA commitments continuously. Optimizing service delivery procedures, real-time notifications, and automated tracking decreased the possibility of SLA violations, improving customer happiness and operational effectiveness.
How to set up an automated SLA
Go to the SLA configuration menu to create a new SLA timer or edit an existing one.
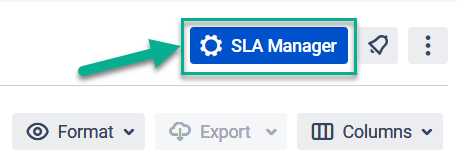
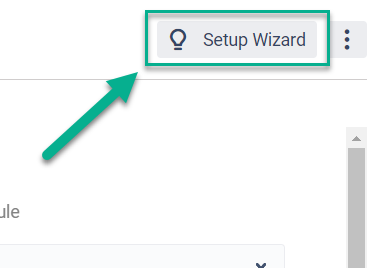
If you need some instructions or tips on how to set up SLA, you can follow the instructions from our step-by-step SLA Wizard to understand how to work with SLA Time and Report. Our wizard will help you to set up an SLA step by step. To use this option, first of all, click “SLA Manager” and afterward click the “Setup Wizard” button.
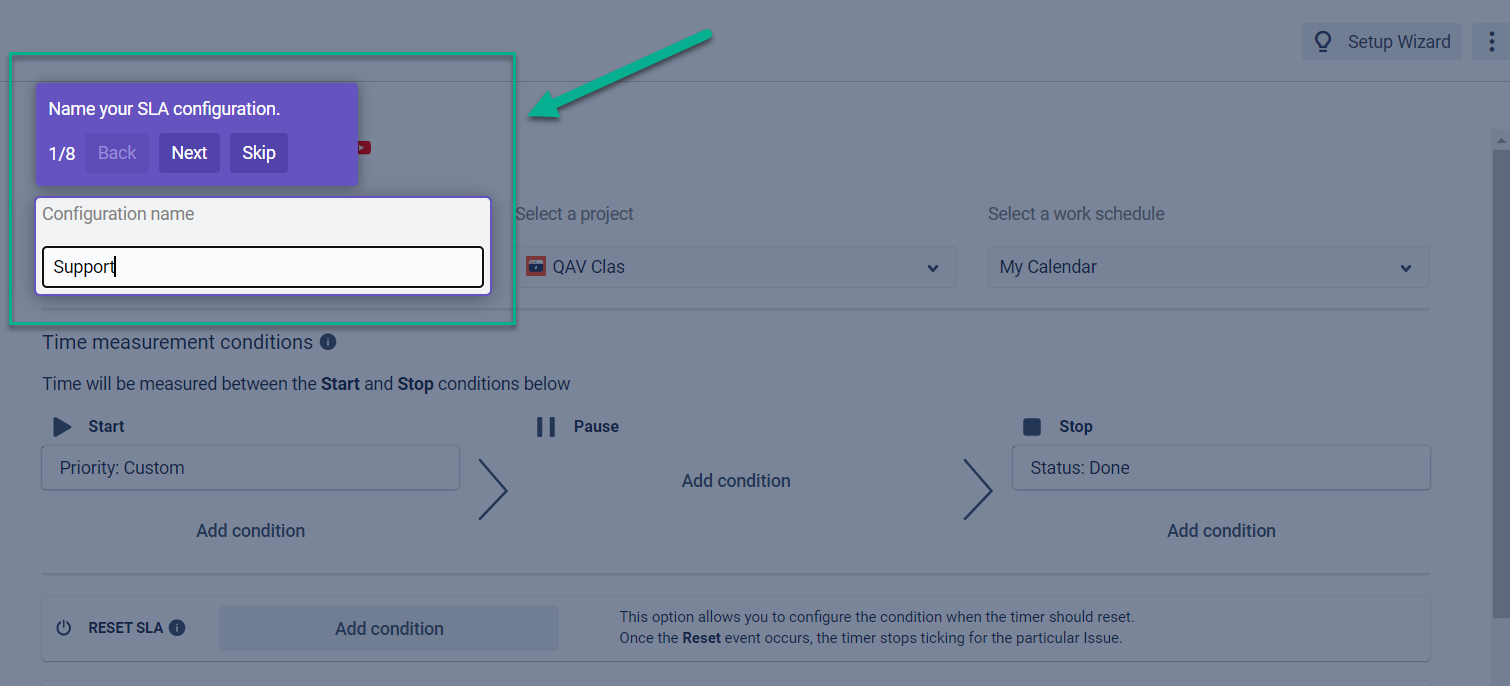
Follow the steps shown by our Wizard to create your SLA.
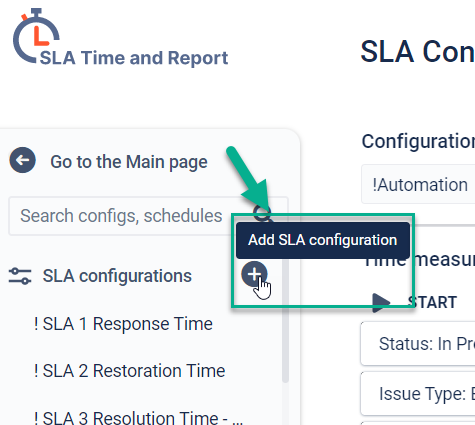
Or just click the “+Add new” button to start creating a new SLA config.
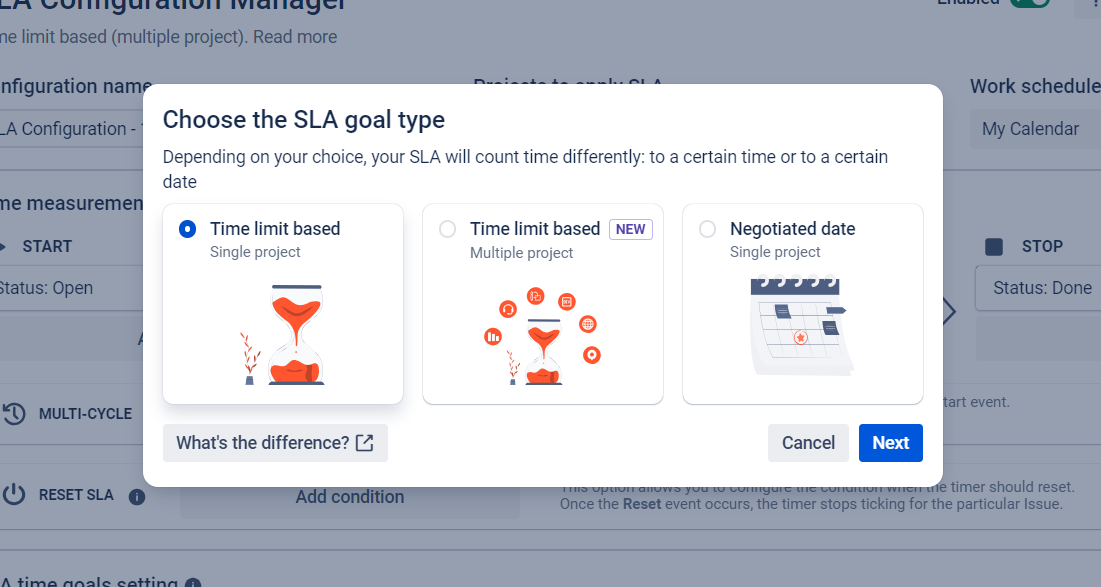
Select what type of SLA Goal you want to use for a new SLA config. It can be based on a time limit or a negotiated date (read more here).
After that, you can configure other parameters for the new SLA config:
-
Name
-
Project
-
Calendar
-
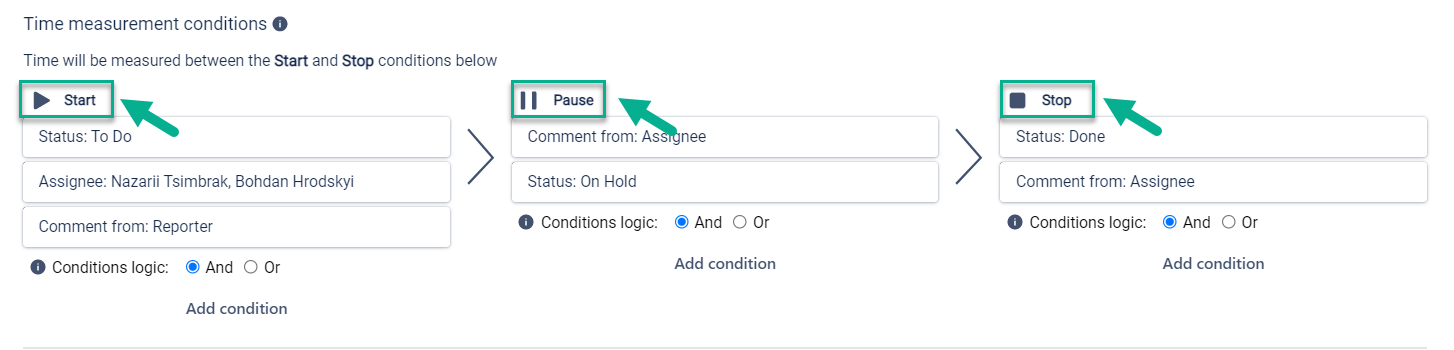
Start/Pause/Stop conditions
-
SLA Reset
-
Multi-Cycle option
-
SLA Goals settings with automated actions

At Start/Stop/Pause conditions, you can choose standard and custom issue fields, which your team uses for each project.
Further, you can add conditions for SLA Reset and select the Multi-Cycle option to get the cumulative sum of all cycles' duration between origin and end statuses.

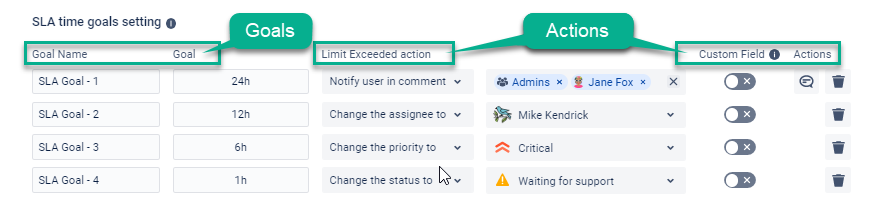
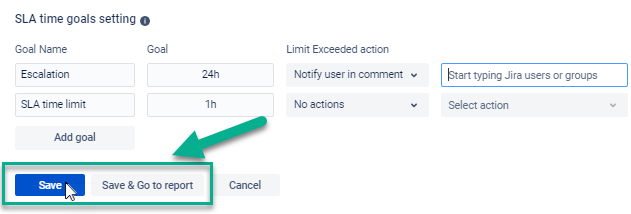
At the SLA goals setting menu, you can specify SLA goals (time limit or negotiated date) and choose the Automate action for exceeded issues:
-
notification;
-
changing reporter;
-
changing priority;
-
changing status.
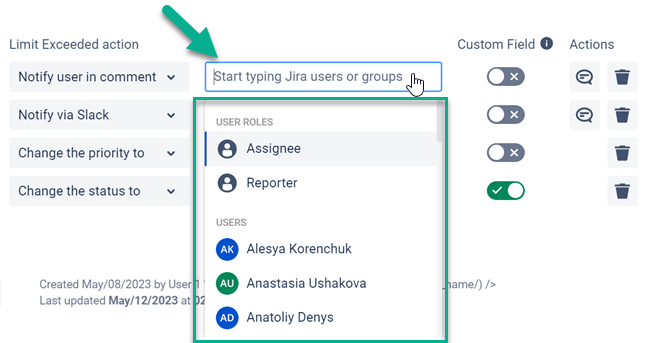
You can choose an option to notify users separately or/and a group of users in comments about exceeded issues. If you have many users, use the Search field.
After settings, you need to save all configurations.
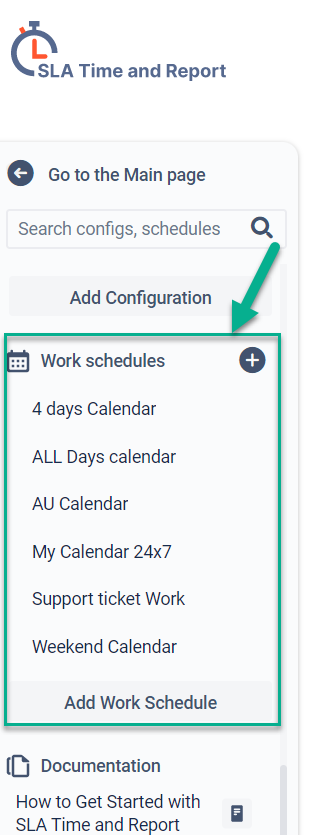
Also, on the left side menu, you can see a list of SLAs and Work schedules configured before. You can add new ones, copy them, or delete them. Read more about how to set Work schedules here.
Takeaway
Integrate these tools today to streamline your processes and keep your team on track to meet your goals. Start your 30-day free trial of SLA Time and Report for Jira.
Was this helpful?
Thanks!
Vitaly_Berezovsky_SaaSJet

TAGS
Atlassian Community Events
- FAQ
- Community Guidelines
- About
- Privacy policy
- Notice at Collection
- Terms of use
- © 2024 Atlassian
0 comments