Community resources
Community resources
Community resources
How to Install/Setup Salesforce Jira Connector with Sinergify
Integrating Salesforce with Jira can significantly enhance collaboration between your support and engineering teams by streamlining workflows and ensuring seamless data synchronization. Sinergify offers a robust solution to achieve this integration efficiently.

If you haven't installed the Sinergify app yet, you can find it on the Atlassian Marketplace.
Step 1: Installation
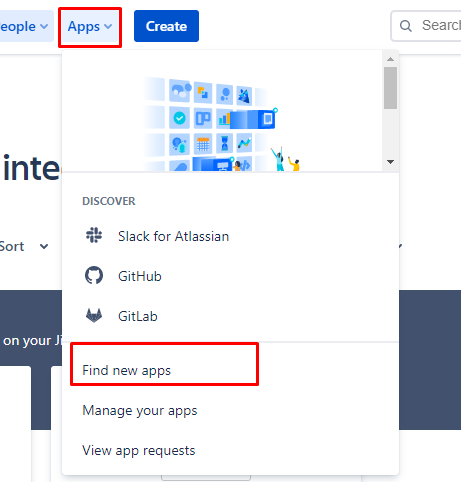
Select Apps, under the drop-down menu select, Find new apps in your Jira instance.
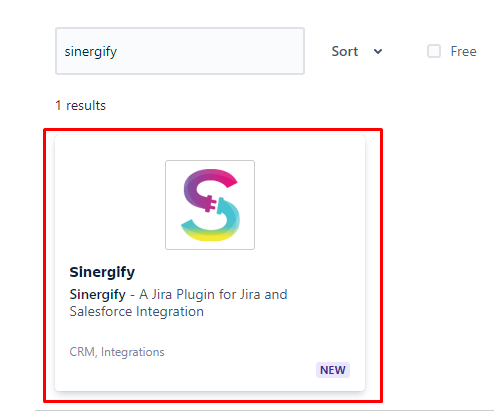
Enter Sinergify in the Search for apps input box and press enter.

Select Sinergify under the results.
Select Get App to install the application in the background. Follow the steps below once the app is installed.
Step 2: Authentication
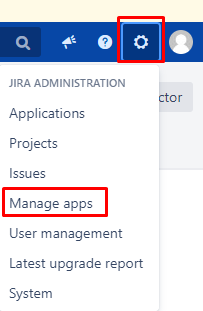
In the Apps drop-down, select Manage Apps.
Select Authentication under the Sinergify sub-section on the left panel.
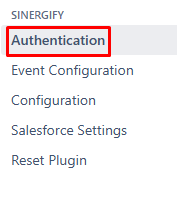
The authentication screen will appear.
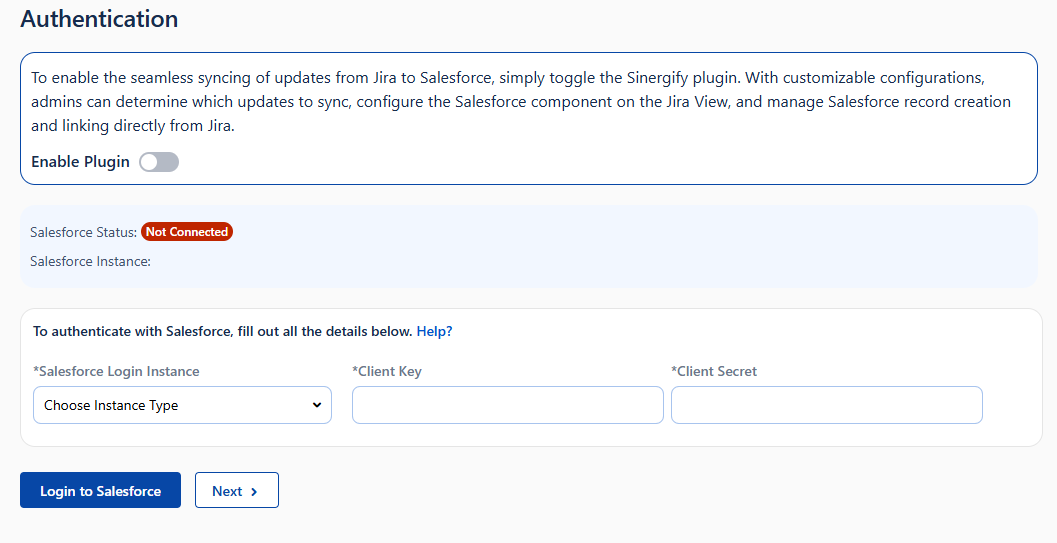
Option to 'Enable or Disable the Plugin' Sinergify plugin allows updates to sync from Jira to Salesforce. With configurations, the admin can decide what updates to be synced from Jira to Salesforce, configure the Salesforce component on Jira View, Salesforce record creation and linking from Jira.

Choose the environment from the Choose Salesforce Instance Type and then Enter the Client key and Client secret.
Select Login to Salesforce. This will redirect you to the Salesforce login page. Type in your credentials and Select 'Allow' on the Allow Access pop-up screen.
Once the Authentication is successful, you will be redirected to the Jira authentication screen with the status Connected.
Select Next to Setup the Event Configuration screen.
Step 3. Configure Event Settings
Event Configuration controls when Jira issue updates sync to Salesforce.
Enable Toggle ON - Fires events for all mapped projects and issue types.
Enable Toggle OFF - Fires events only for selected project and issue types in the table.
Use the Sync button to auto-configure mappings.
Select the relevant Issue-related events (e.g., create, update, transition).
Click Next to continue.
Step 4: Configure Jira Panel Settings
These settings control how Sinergify appears and behaves within your Jira issue view.
They let you manage panel visibility, placement, record linking, and Salesforce interaction directly inside Jira.
Step 5: Field Configuration
Field Configuration determines how Salesforce records and fields are displayed within your Jira issues. It allows you to select and organize mapped Salesforce object fields for search, detail, list, and compact views.
Step 6: Salesforce Settings
This section maps Salesforce object fields to your Jira project fields for seamless record creation. You can enable assignment rules for Leads/Cases and select from objects already mapped in both Salesforce and Jira configuration.
By following these steps, you can establish a seamless integration between Salesforce and Jira using Sinergify, enhancing collaboration and efficiency across your teams.
For more detailed guidance, refer to Sinergify's official documentation.