Community resources
Community resources
Community resources


How to create ITSM runbooks in Confluence Cloud
Struggling with slow, inconsistent ITSM responses? ITSM runbooks can help. Whether you're starting fresh or organising an existing collection of hard-to-use runbooks, here's how to improve them with Confluence Cloud.
What are the benefits of using ITSM runbooks?
-
Consistency: Runbooks standardise tasks, reducing errors and ensuring compliance with company policies.
-
Faster incident responses: Clear steps enable quicker resolutions, minimising downtime and improving user satisfaction.
-
Knowledge retention: Documented processes preserve organisational expertise, even when staff move on.
How to create an ITSM runbook in Confluence
Step 1: Plan the structure of your runbook
Planning your ITSM runbook before building it helps you understand how the pages will link, saving time in the long run.
In our example below, we used a Confluence whiteboard to map out a simple password reset runbook. The structure branches into three distinct pathways based on the user's operating system.

Step 2: Create a Confluence page for each step of your runbook
Now that you’ve planned your runbook, it’s time to start creating a page for every step.
-
Head to the space where you'd like to store your ITSM runbooks. This could be an existing Confluence space or a new one; whichever works best for your needs.
-
Click the blue “+ Create” button and then select “Page”.
-
Add content to the first page of your runbook, then click “Publish”.
-
Repeat the process to create a new page for each step of your runbook.
Here’s an example page:

Step 3: Pull your pages together with Guided Pathways for Confluence
With your Confluence pages prepared, you’re ready to build your ITSM runbook. You can do that with the help of an app called Guided Pathways.
-
In Confluence, go to "Apps" > "Guided Pathways" to open the app homepage.
-
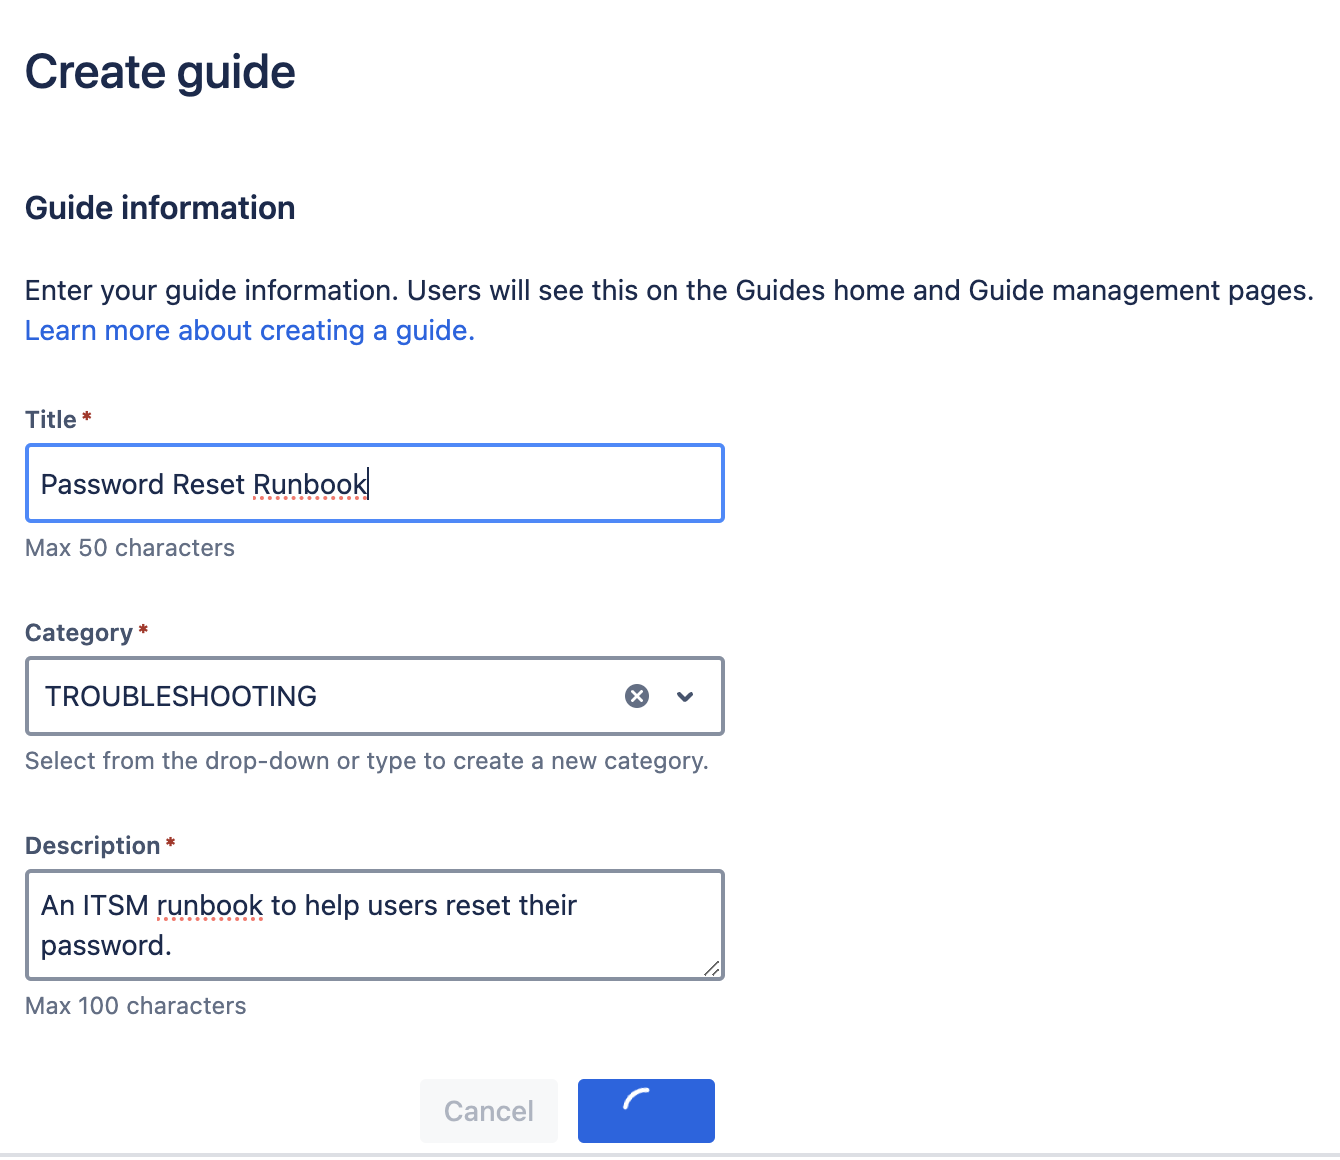
Click "+ Create a guide" at the top right

-
Enter your runbook title, category, and description, then select "Create".
-
To create your first step, give it a name in “Step Title” and link to your chosen Confluence page.

-
Press “+” in the left sidebar to create a new child page (this links the pages together).

7. Give your child page a name in “Step Title”, choose what to show on the previous page's button in “Button Text”, and link to the Confluence page associated with the next step.

8. Repeat this for all the pages in your ITSM runbook, adding extra child steps to create a new branching choice.

9. When you’re finished, click “Publish” in the top-right to make your guide visible to other users. Here’s our runbook as it appears to users:

Step 4: Share your new runbook!
When your team is ready to start using your Confluence runbook, ensure it’s easily accessible where they need it most.
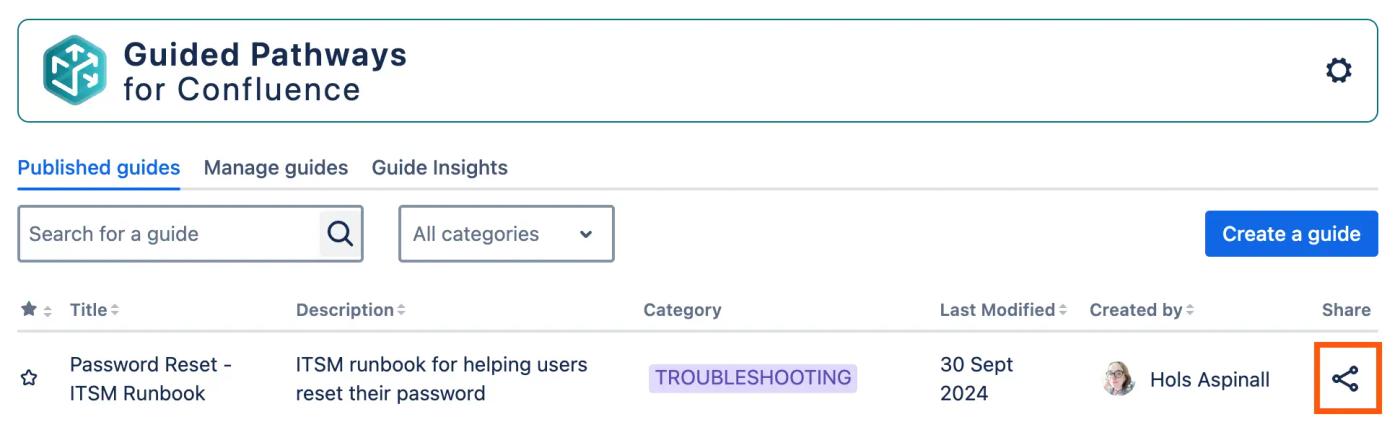
You can share a runbook from within the app by clicking the “Share” icon on the Guided Pathways homepage (shown below) or simply copy the URL and share it wherever you like.
And that’s all there is to it!
What elements do you include in your ITSM runbooks? Share your best practices in the comments! 👇
Was this helpful?
Thanks!
Daniel_Domene_Kolekti
About this author
Product Marketing Manager
Kolekti - Part of The Adaptavist Group
Seville, Spain
6 accepted answers
Atlassian Community Events
- FAQ
- Community Guidelines
- About
- Privacy policy
- Notice at Collection
- Terms of use
- © 2025 Atlassian
0 comments