
Have you ever needed to organize past activities in Jira into a well-structured report? Read on, and you will find out how to get your retrospective diary for any Jira project and audit your teamwork.
Why do you need the issue history?
Thanks to the issue history, you can view what was changed and when at a single issue level. For example, User A changed status 7 hours ago: In Progress → Done. That information is helpful when analyzing everyday team activities. The pitfall is that you can’t play with that data and structure it the way you like.
Every manager may need some unique reports. It can be history for:
- Changes within the specified date range
- Updates some particular user made
- Any standard or custom Jira field changes (description, due dates, statuses, etc.)
Imagine you can build your own report for past activities like the Lego constructor. Add what you need, look at how it works, and refine it at any time. That’s how it is to interact with Issue History for Jira plugin.
30-day free trial
How to create issue history report in Jira?
Issue History for Jira app was developed as a diary of all past actions. It is the way to enhance your reporting for past changes in Jira.
You can build a report in 5 easy steps.
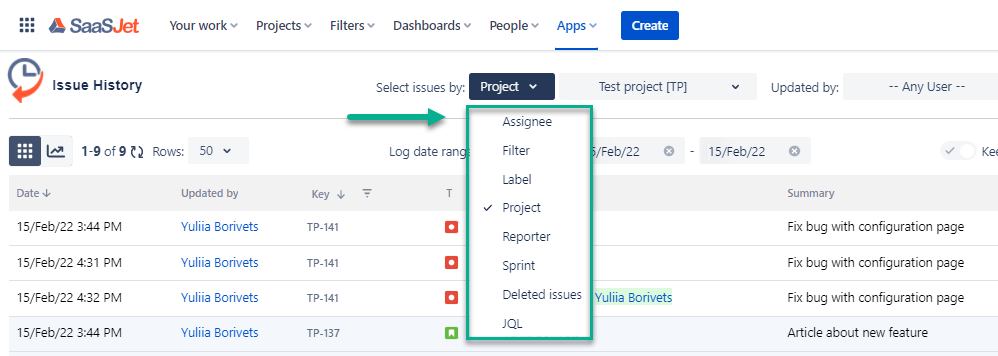
- Filter issues to get the changes you need. You can select Project, Sprint, Assignee, Label or other available options.
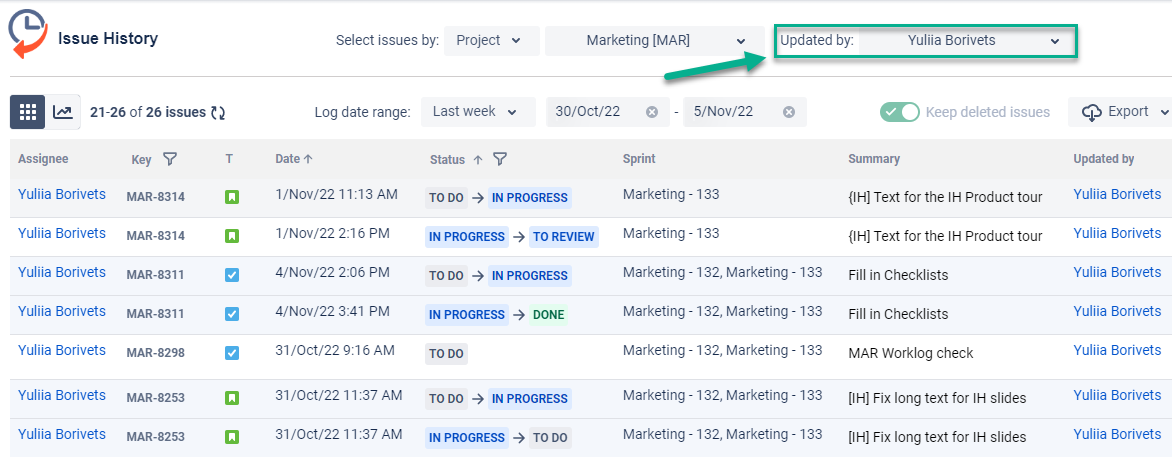
- Try the “Updated by” option to see what specific user has changed.
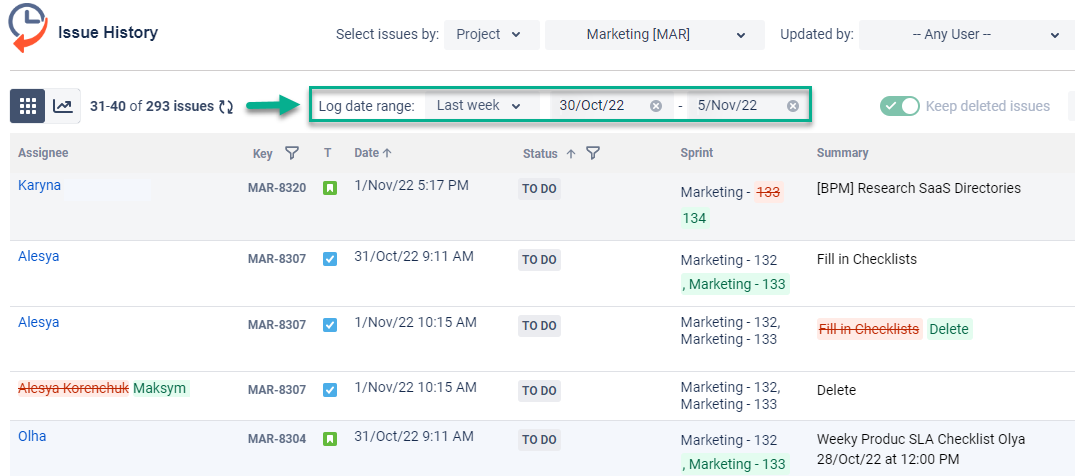
- Specify the time frames. Select from a given period (today, yesterday, last week, this month, etc.) or the custom date ranges (From date - To date).
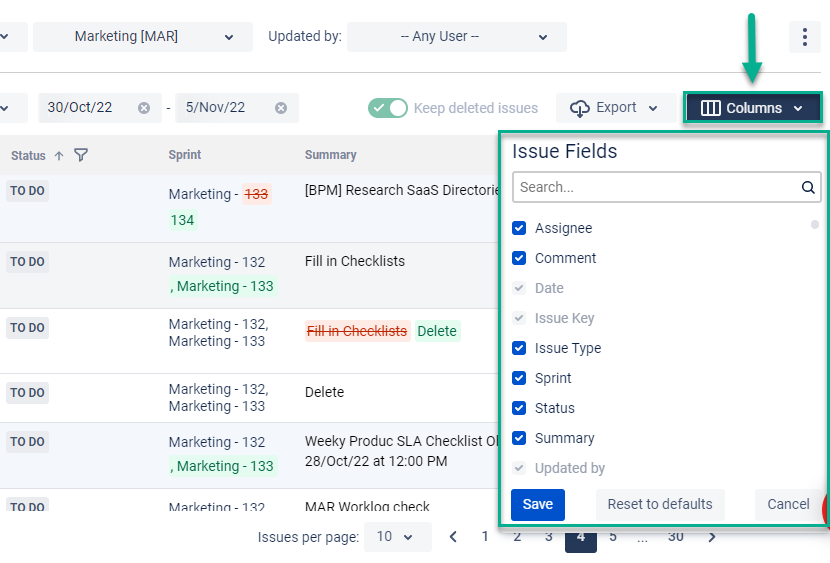
- Use Column manager to add any standard or custom Jira field to your report.
- Arrange the columns the way you need. Drag-n-drop any column to place it where you want.
With those basic settings, you will get a well-structured change history report.
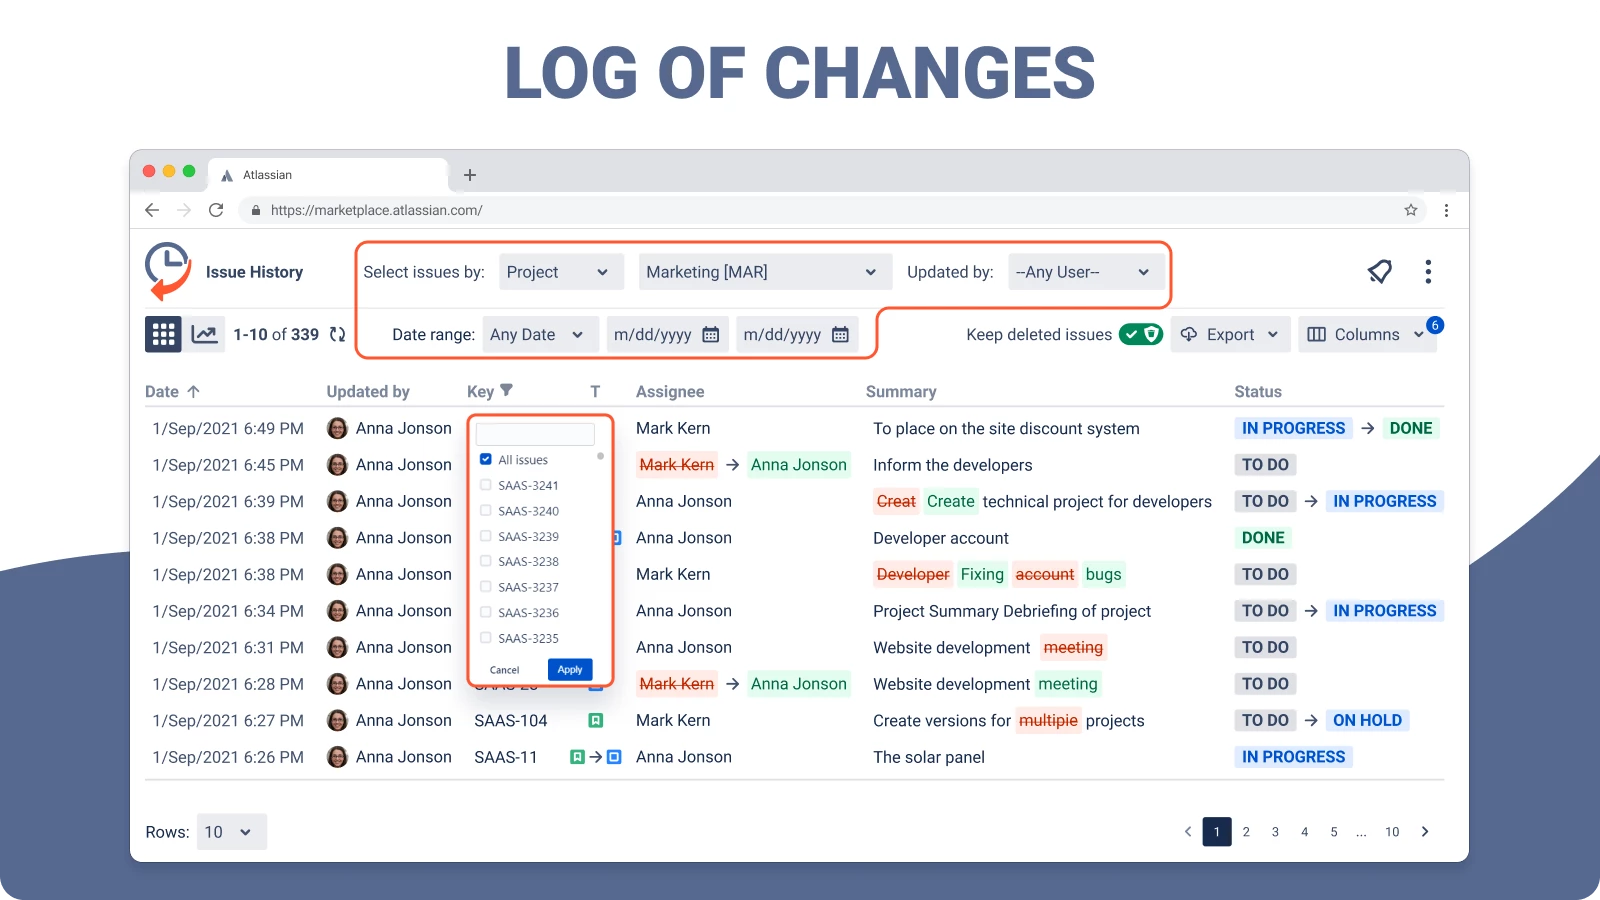
Additionally, there is much more functionality to discover. For example, you can export ticket history, find deleted issues, or get a chart for dynamic status changes.
Try to create your own changelog report

