In my last article, Connecting to Jira Align Enterprise Insights with SQL Authentication, I walked through connecting to Enterprise Insights with SQL login authentication. If you use Azure Active Directory for authentication, Enterprise Insights can be set up to authenticate with your Azure Active Directory.
This article provides an walk thru on how to connect to Enterprise Insights with Azure Active Directory with Azure Data Studio, SQL Server Management Studio, and Power BI. For setting up Azure Active Directory authentication with Tableau, see Tableau's help documentation.
Before attempting to connect to Enterprise Insights with Azure Active Directory you will need the following:
- Confirmation by Atlassian that your network IP addresses have been whitelisted for accessing your Enterprise Insights instance
- Your Enterprise Insights instance has been set up to authenticate with Azure Active Directory by Atlassian
- Your Enterprise Insights server address and database name provided by Atlassian
Please contact your Atlassian TAM for Onboarding Success or the Jira Align Support team if you need assistance with this.
Azure Data Studio
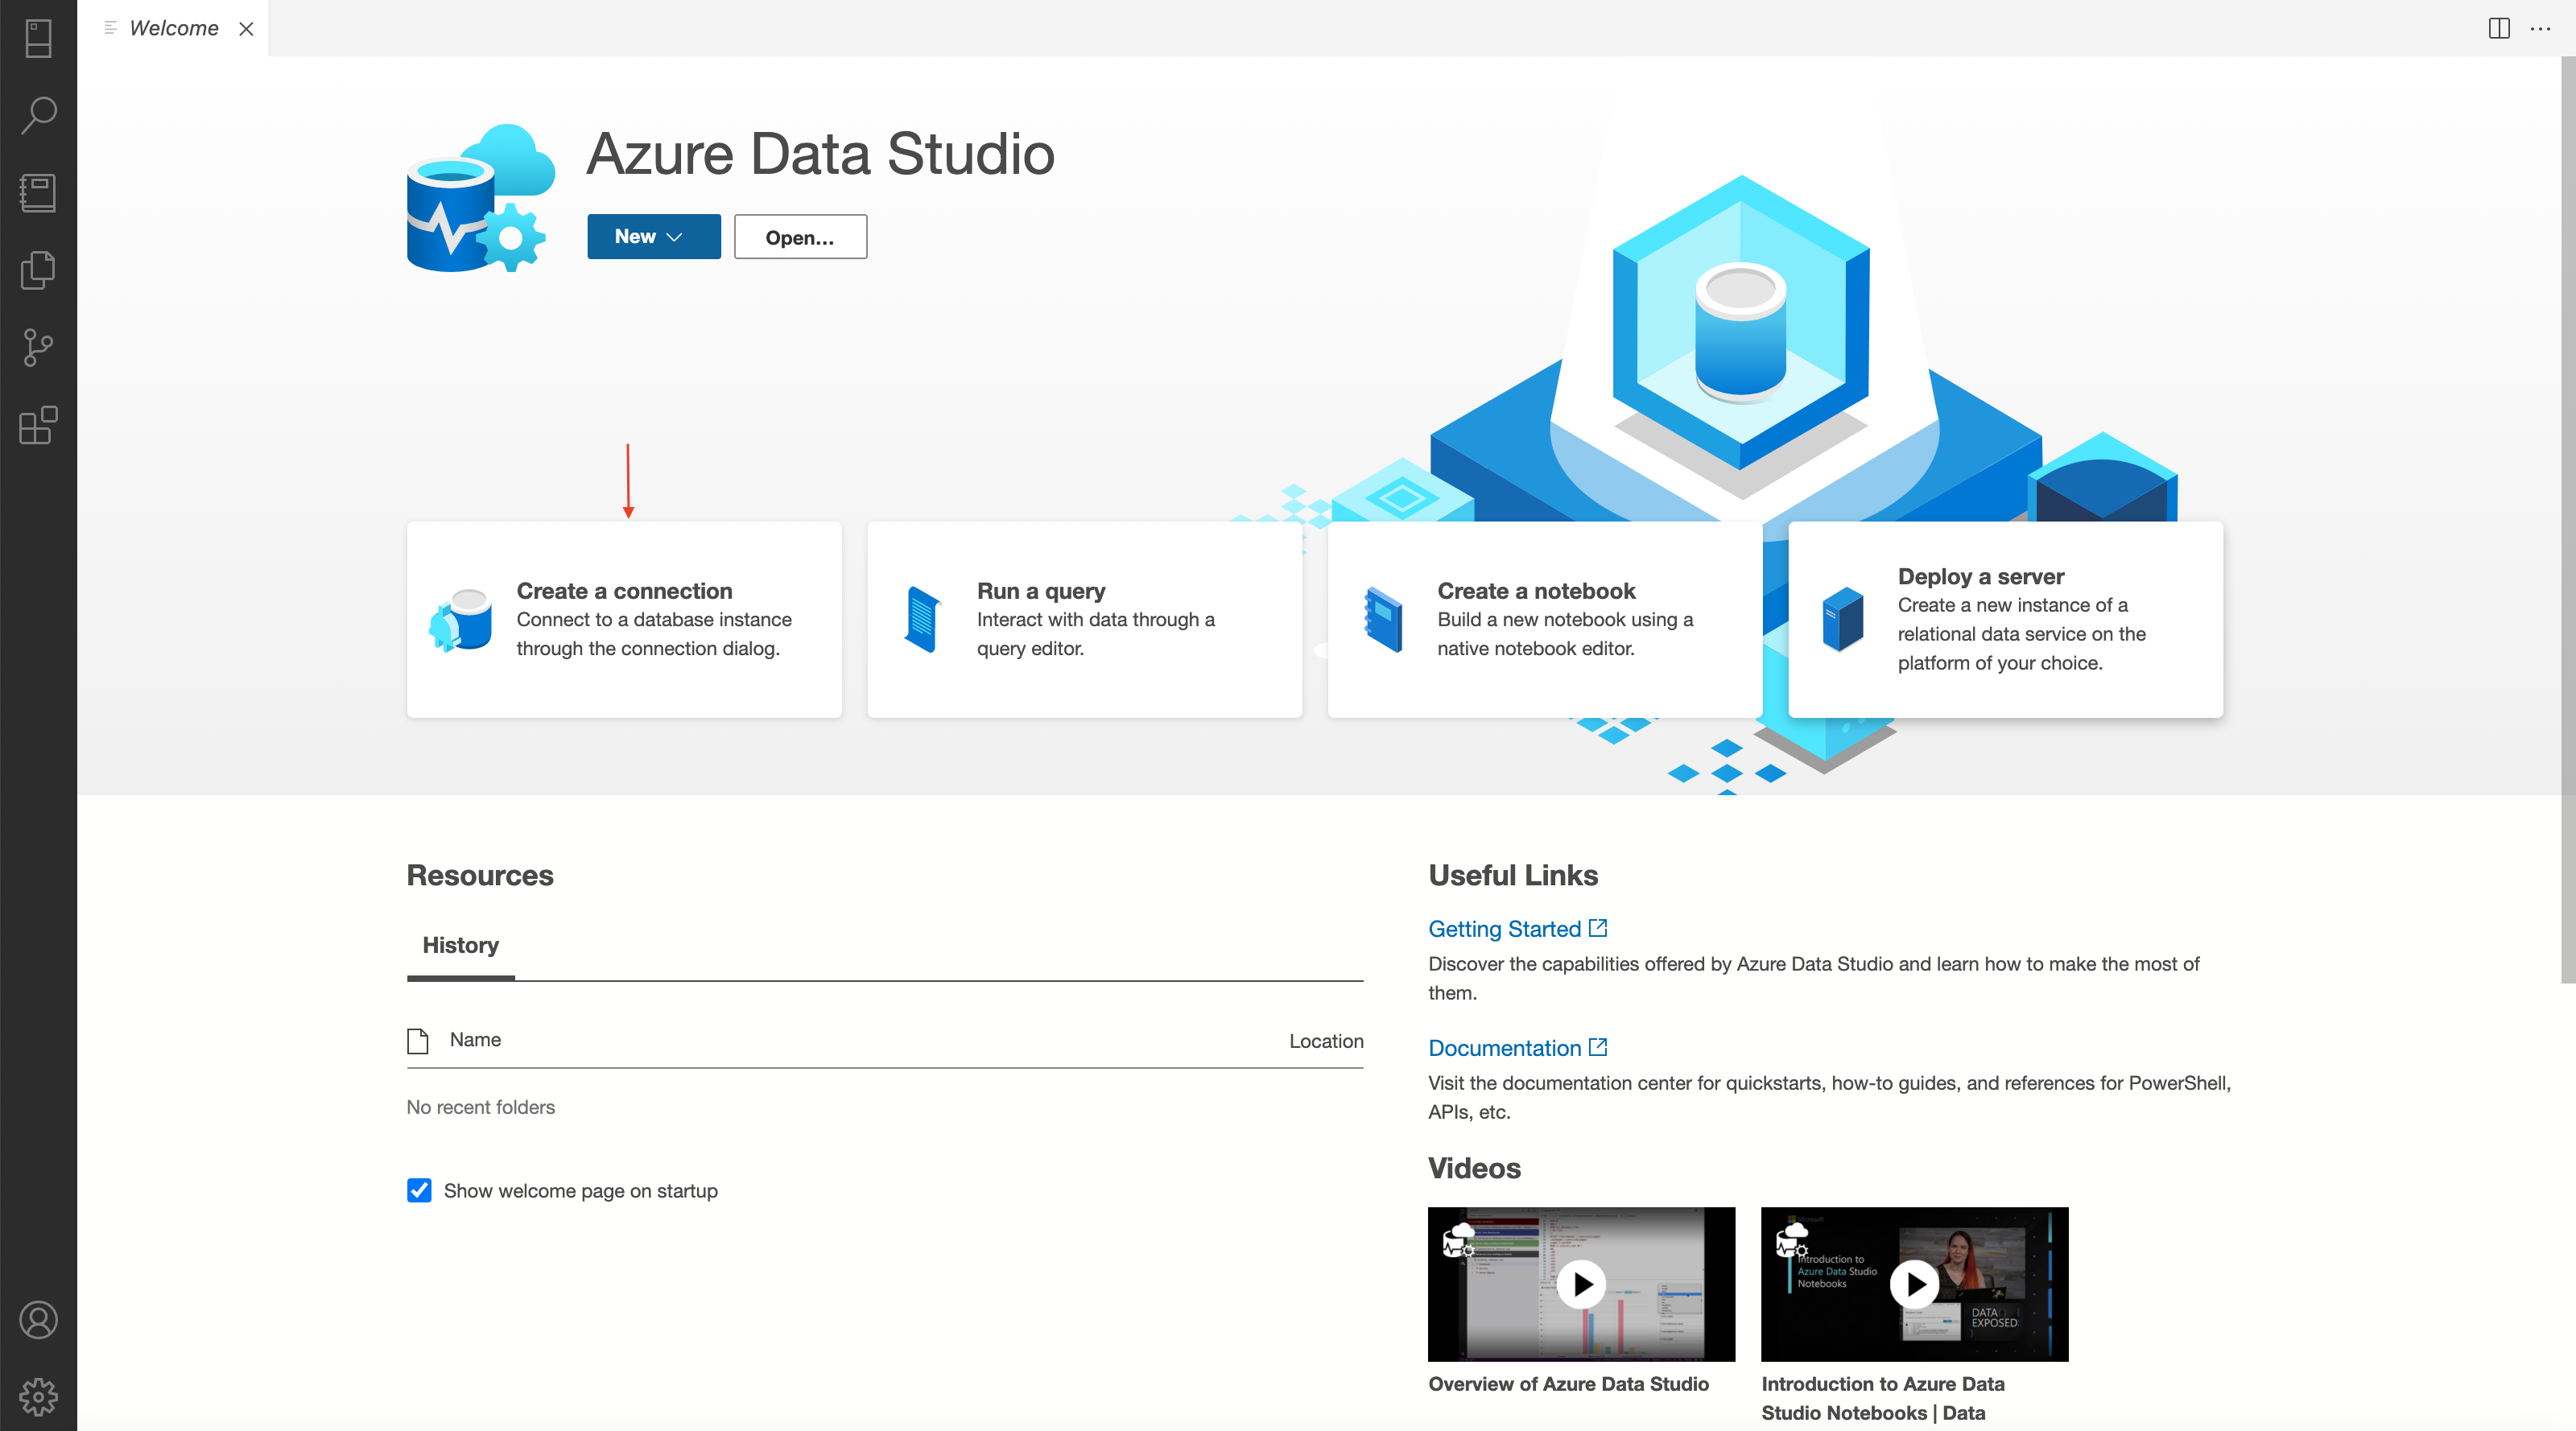
1. On the Azure Data Studio Welcome screen click on Create a connection
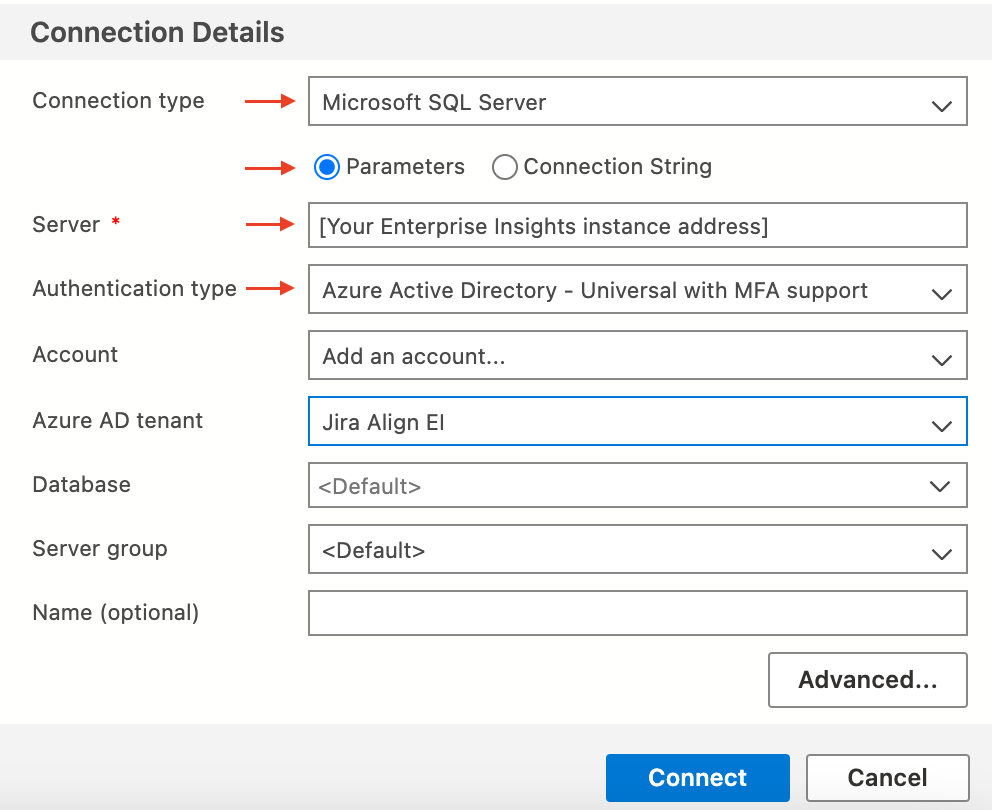
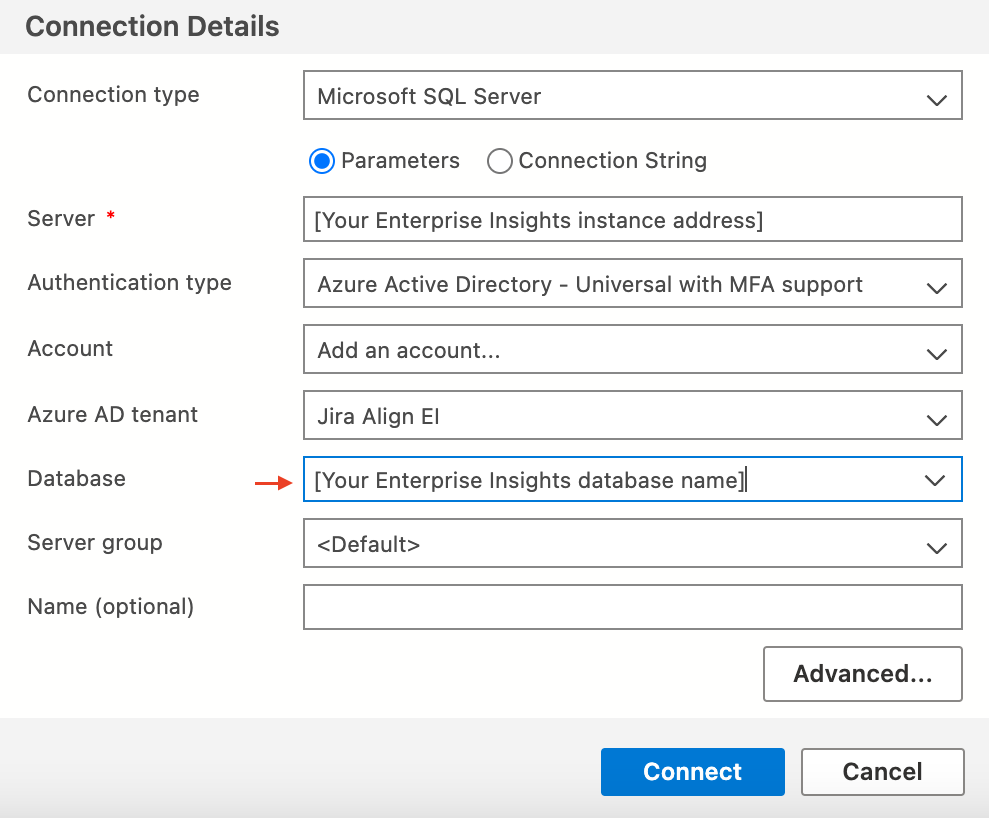
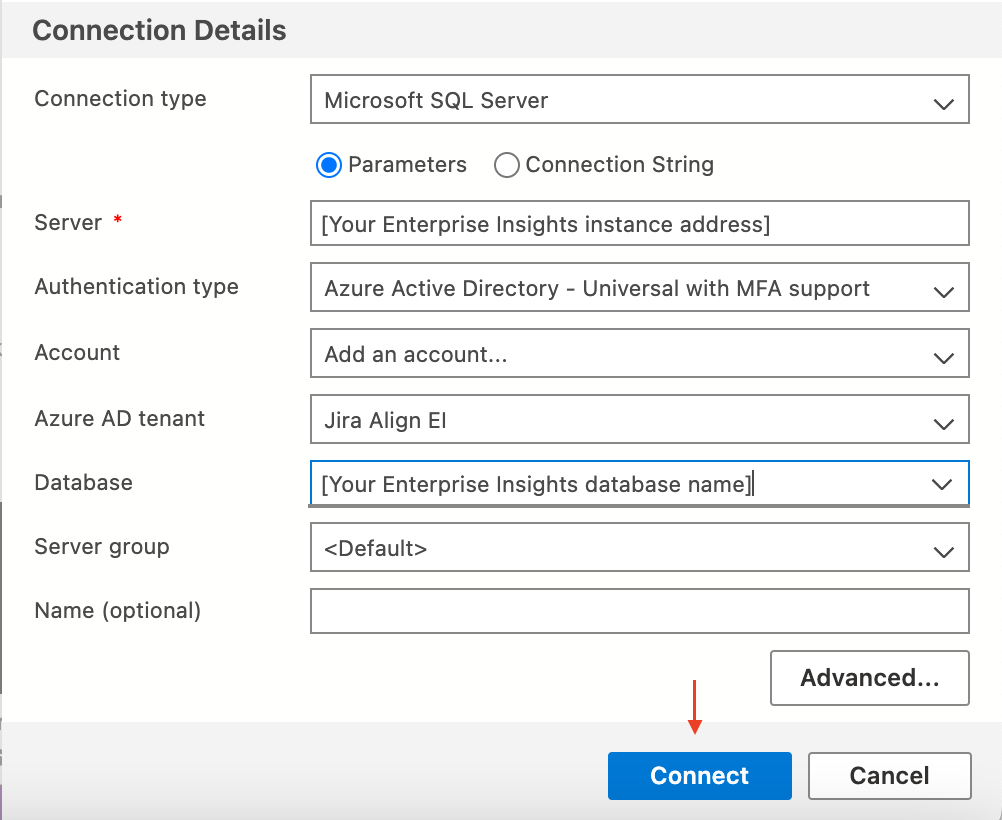
2. On the Connection Details window, select or enter the below values in the following fields:
- Connection type = Microsoft SQL Server
- Parameters = Select radio button
- Server = Enterprise Insights instance address (Provided by Atlassian)
- Authentication type = Azure Active Directory - Universal with MFA support
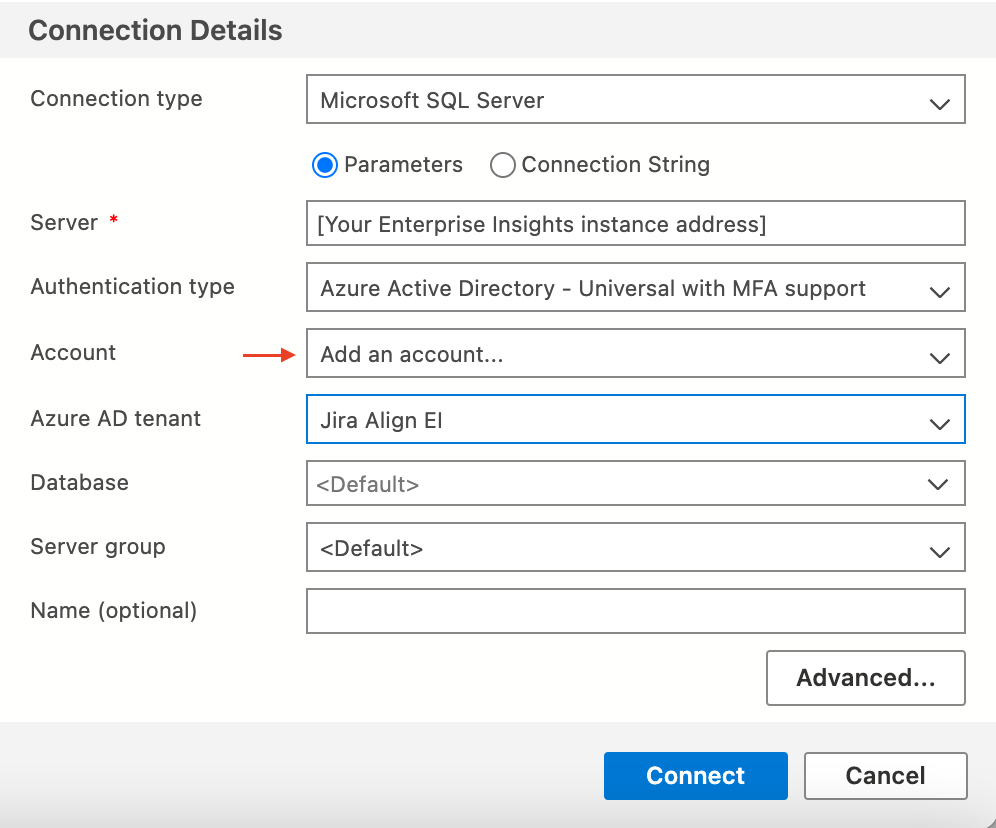
3. In the Account field, select Add an account…
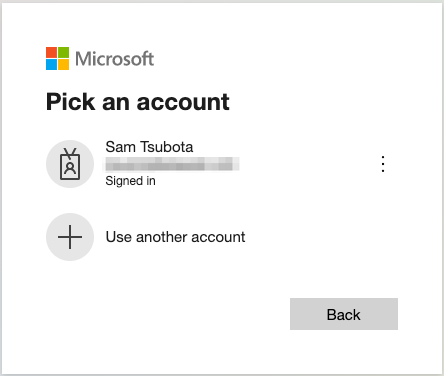
4. A browser tab opens to sign in or select you Azure AD account to log into. Log into your Azure AD account. Screens may vary depending on your single sign-on (SSO)/multi-factor authentication (MFA) provider.
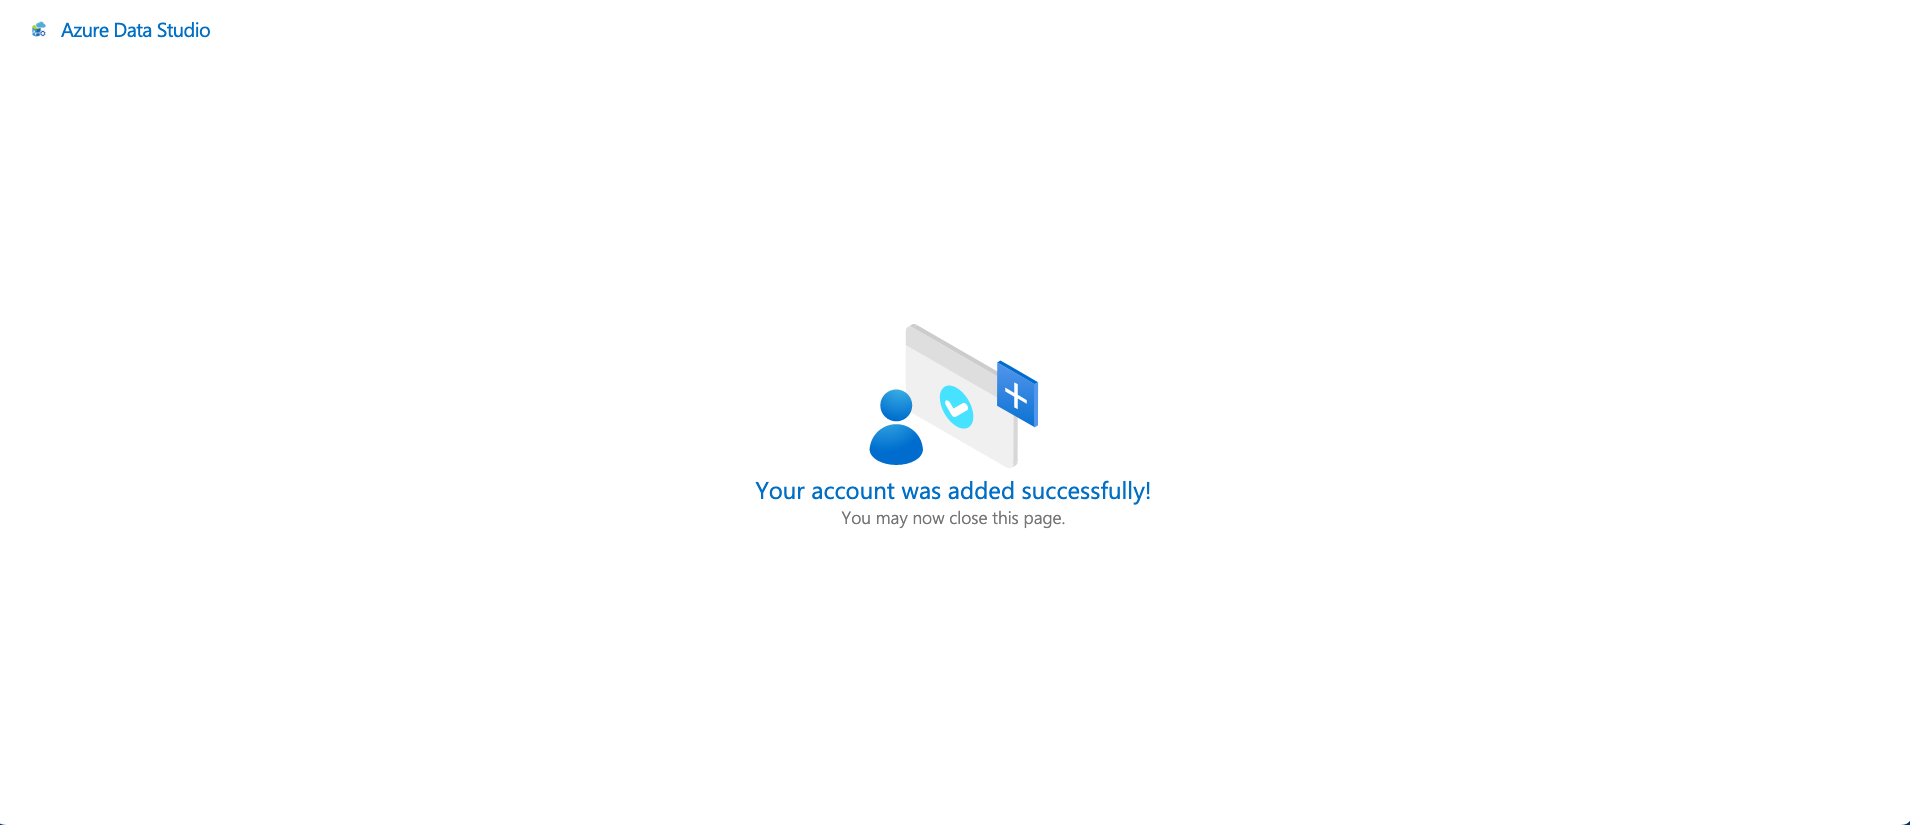
5. After logging in successfully, a confirmation page that your account was add to Azure Data Studio displays.
6. Enter your Enterprise Insights database name (provided by Atlassian) in the Database field
7. Click on Advanced...
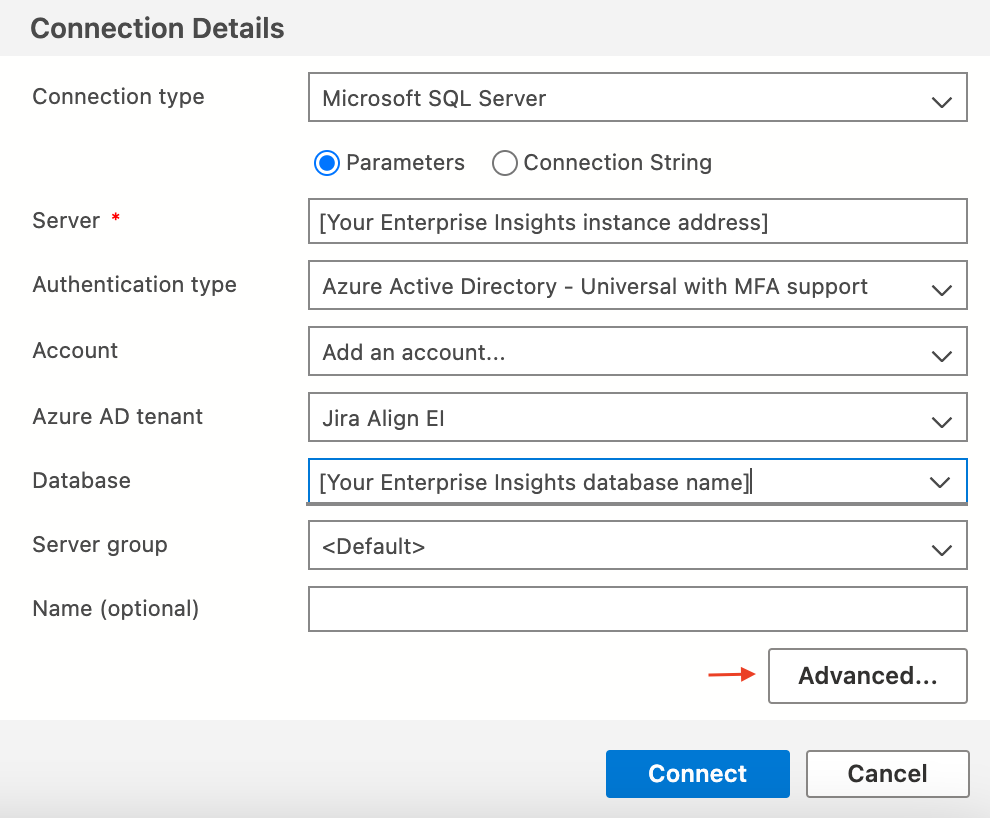
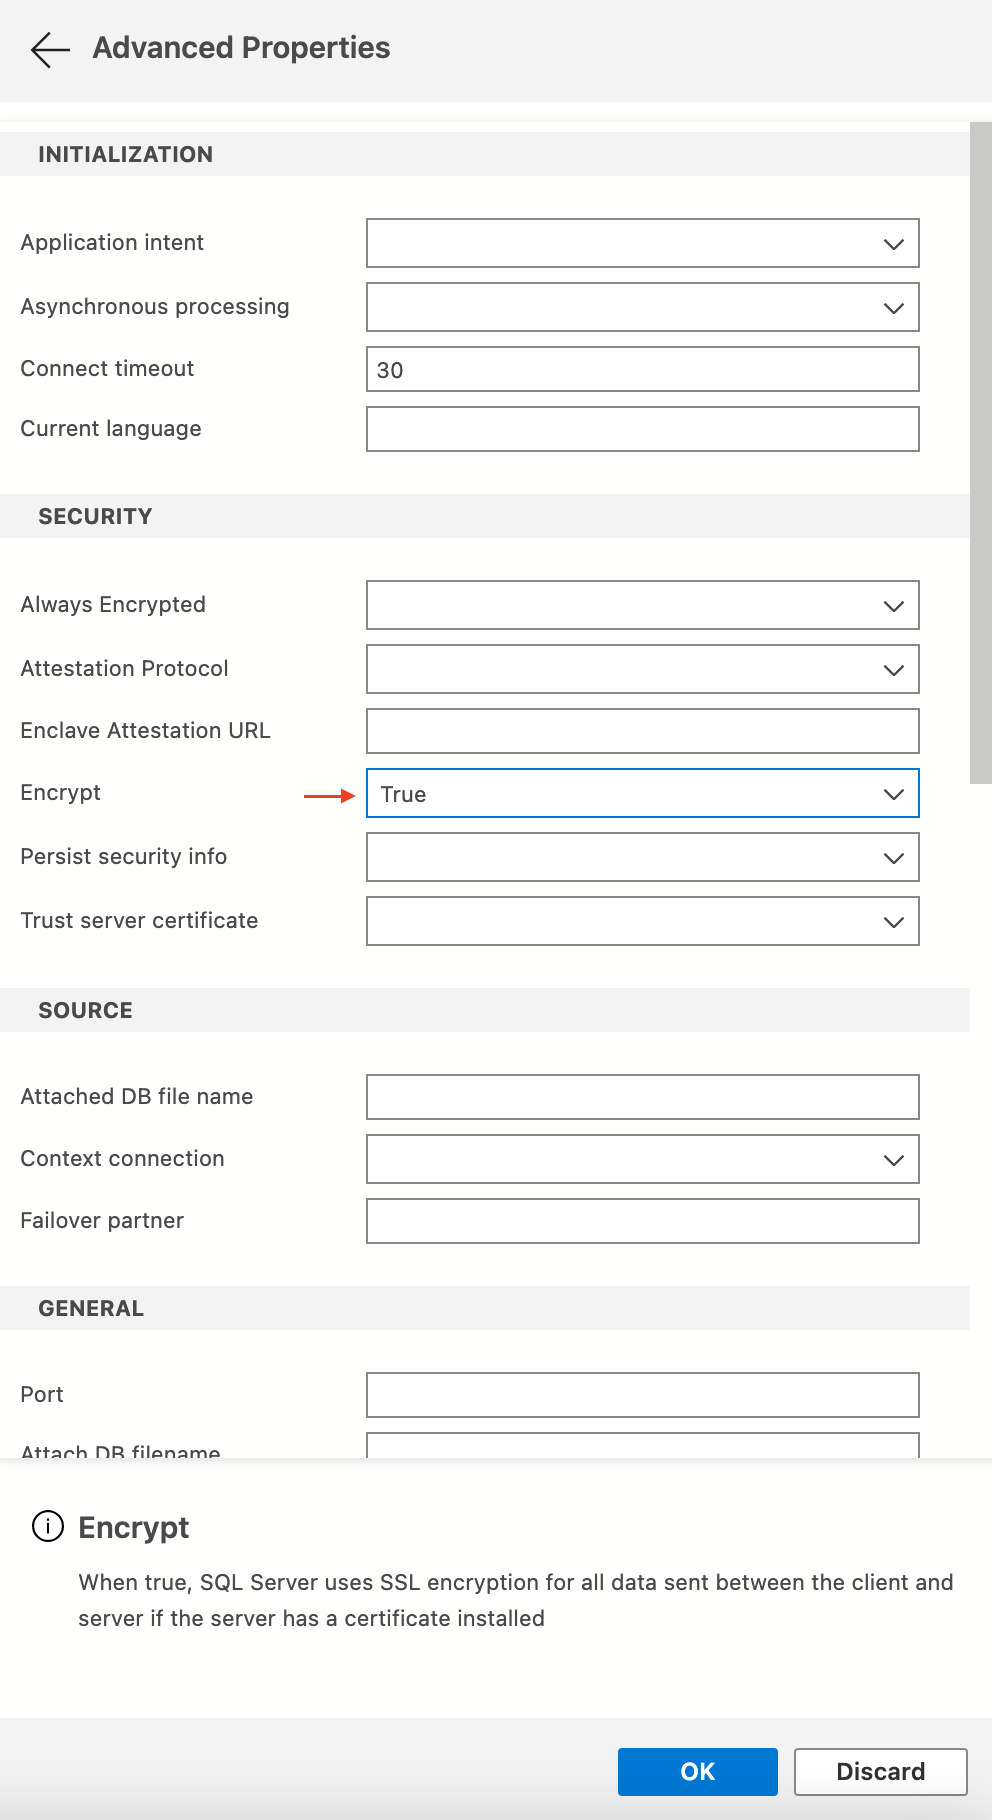
8. Set Encrypt = True to enable SSL encryption. Then click OK to return to Connection Details
9. On Connection Details, click Connect
SQL Server Management Studio
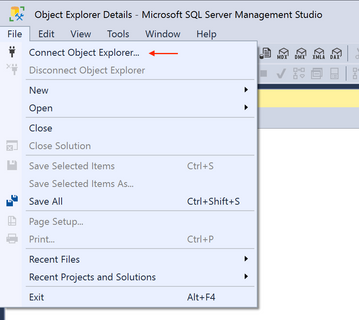
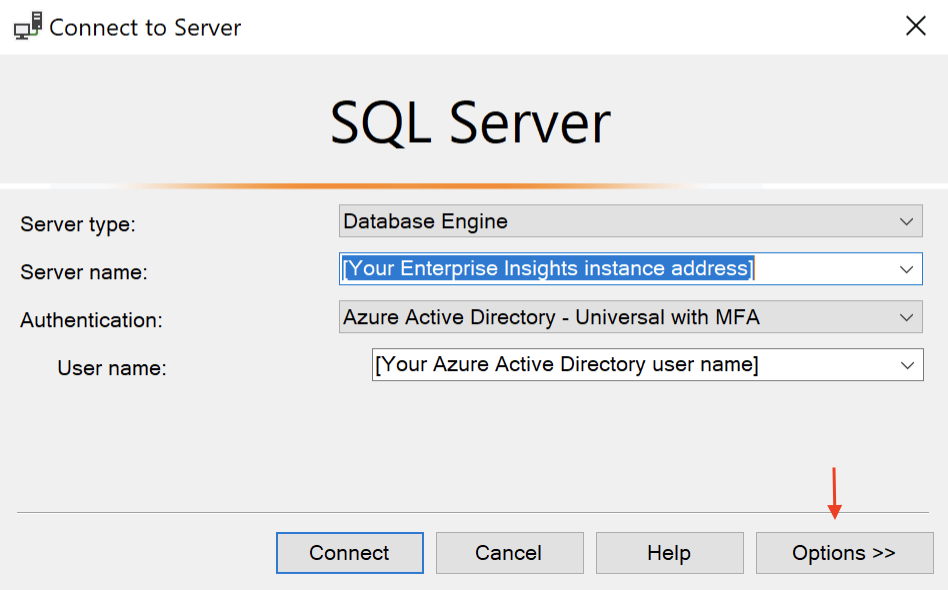
1. Click on File > Connect Object Explorer
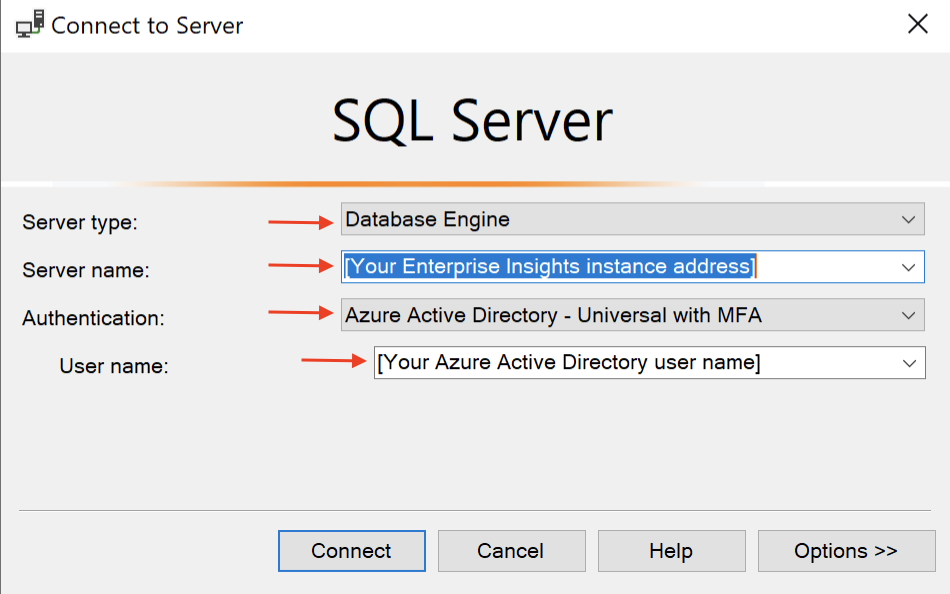
2. On the Connect to Server window, select or enter the below values in the following fields:
- Server type = Database Engine
- Server name = Enterprise Insights instance address (Provided by Atlassian)
- Authentication = Azure Active Directory with Universal MFA
- Username = User name for your Azure Active Directory
3. Click on Options >>
4. On the Connection Properties tab, enter the name of your Enterprise Insights database (Provided by Atlassian) in the Connect to database field. Then select Encrypt connection checkbox
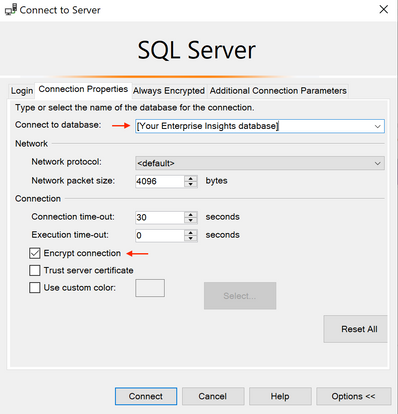
5.Click on Connect. You will be redirected to your SSO/MFA provider to enter your login credentials.
Power BI Desktop
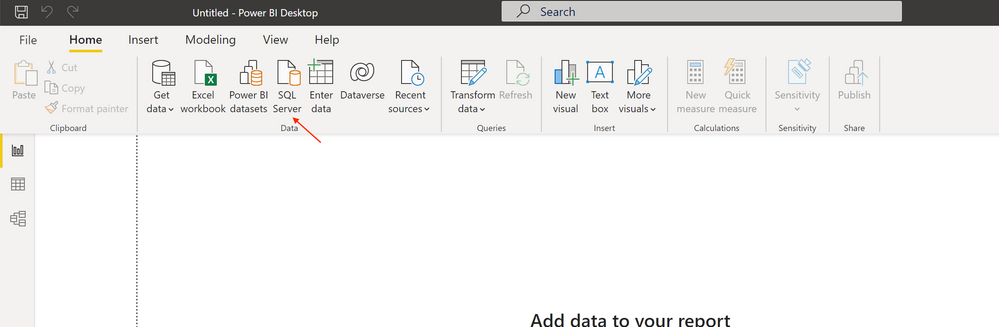
1. On the Power BI Home ribbon, click on SQL Server.
2. On the SQL Server database window, enter the below values in the following fields:
- Server = Enterprise Insights instance address (Provided by Atlassian)
- Database (optional) = Enter the name of your Enterprise Insights database (Provided by Atlassian)
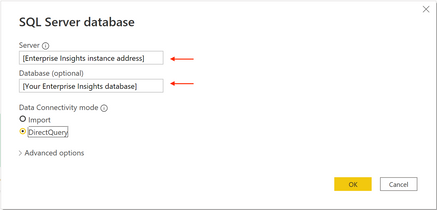
3. Click OK
4. Click on Microsoft Account on the left side of the window. Then click on Sign in.
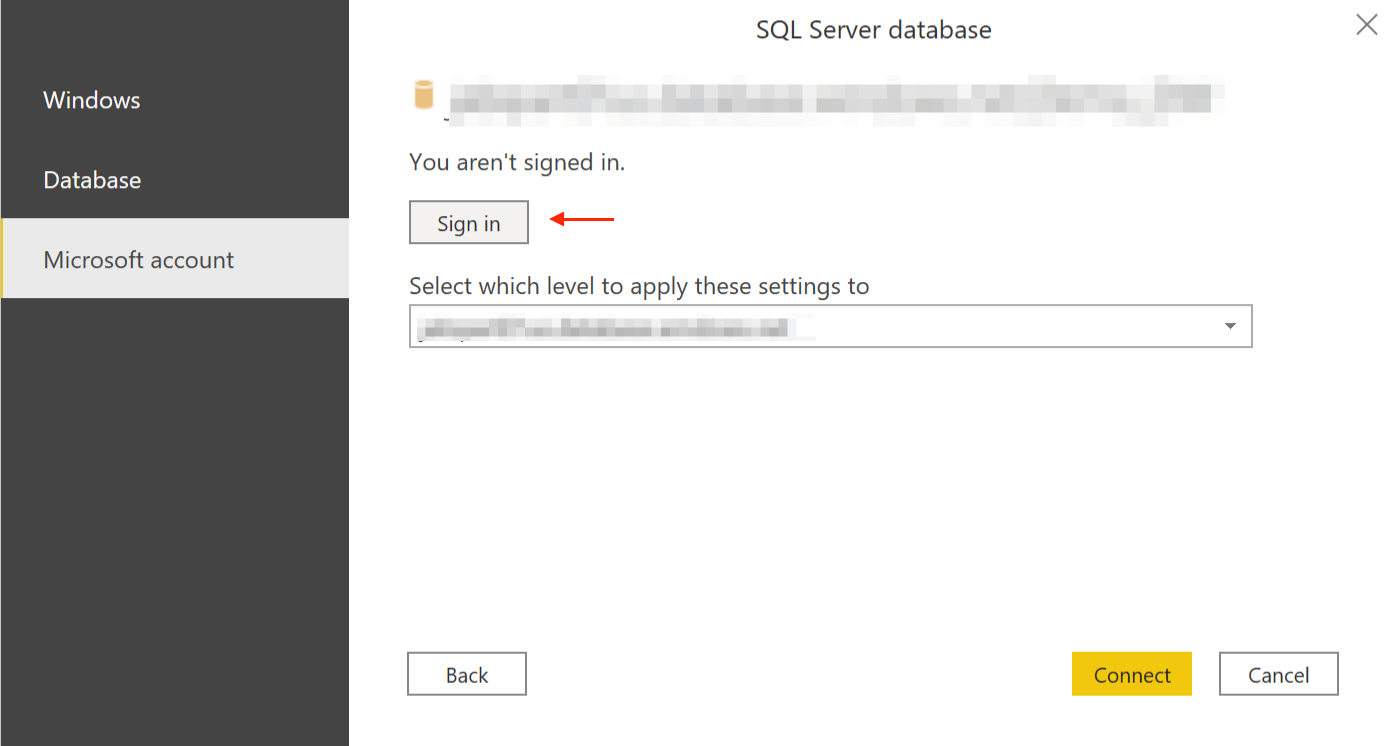
5. In the Sign in pop up window, enter your Azure Active Directory user name in the Sign in field and click Next. You are redirected to your SSO/MFA provider to complete the login process. Screens vary by SSO/MFA provider.
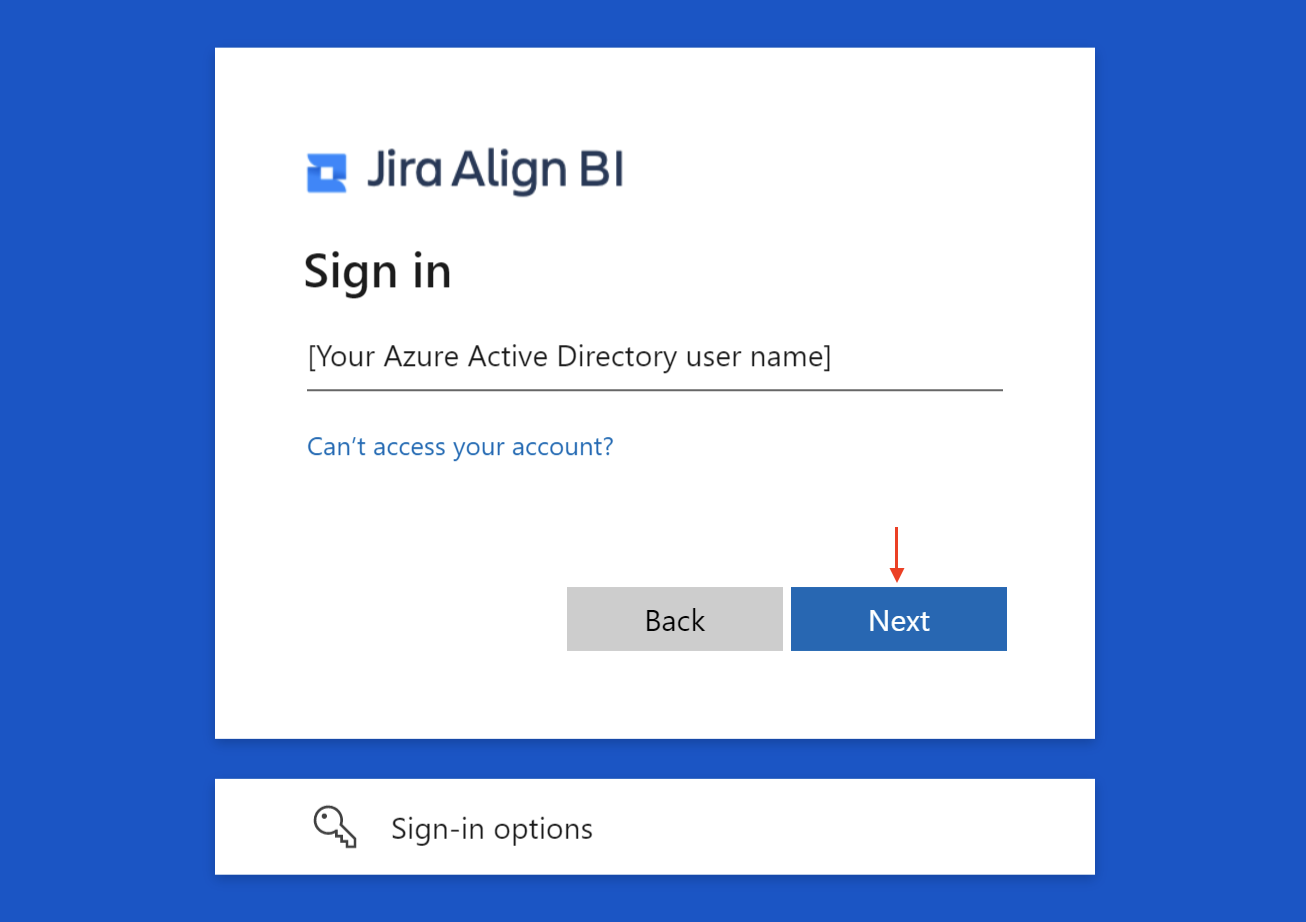
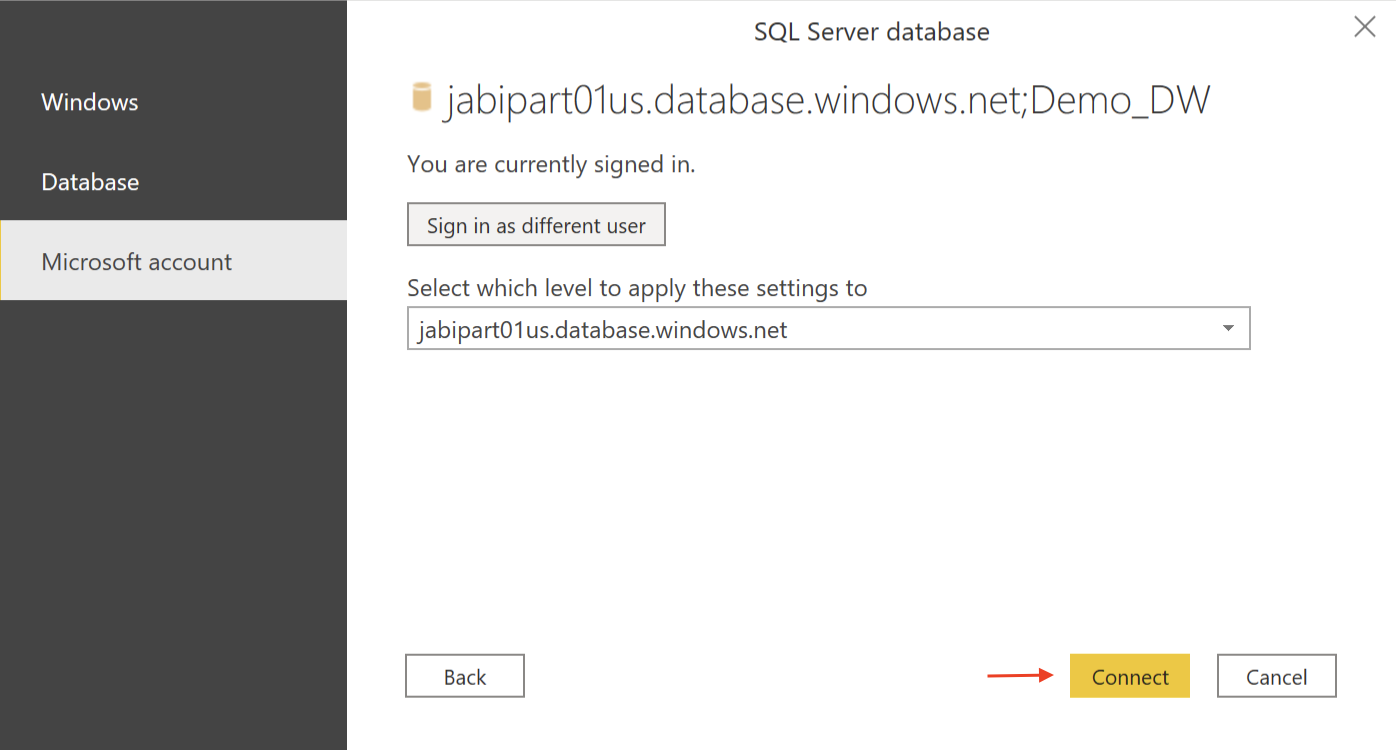
6.After successful authentication of your account, you are returned to the SQL Server Database window which displays that your are currently signed in with your Microsoft account. Click on the Connect button.