I will admit it: I am a sucker for home renovation shows. You know, the ones where they take some dated fixer-upper and turn it into something that looks like it came out of a magazine? You might need a big budget to remodel a house, but did you know that you can easily glow up your Confluence pages for free? It’s quick, easy, and requires no heavy lifting or paint brushes!
Let me show you some before and after images, one section at a time!
Page Heading:
Adding a header image in Confluence makes your content more attractive, memorable, and potentially easier to understand by providing a visual to set the context/tone for the page. It’s a simple way to boost the impact of your pages.
| Before: |
After: |
 |
 |
📄 Page elements used:
Pro Tip: Admittedly, the emoji doesn’t add nearly as much visual interest to the page as the header image, but did you know that the emojis are shown in the Confluence content tree? It can make finding your pages much easier! Here’s an example:
| Before: |
After: |
 |
 |
Add column layouts, color, and a table of contents:
-
Layouts let you organize content into columns and sections, breaking up long pages and making information easier to scan and digest.
-
Info panels help you emphasize and communicate important messages effectively and brings color to your page
-
Adding a Table of Contents provides an overview of the content to follow, and lets users quickly jump to what matters to them.
-
Expands allow you to keep your page clear and concise, while still providing more detail for those who need it.
| Before: |
After: |
 |
 |
📄 Page elements used:
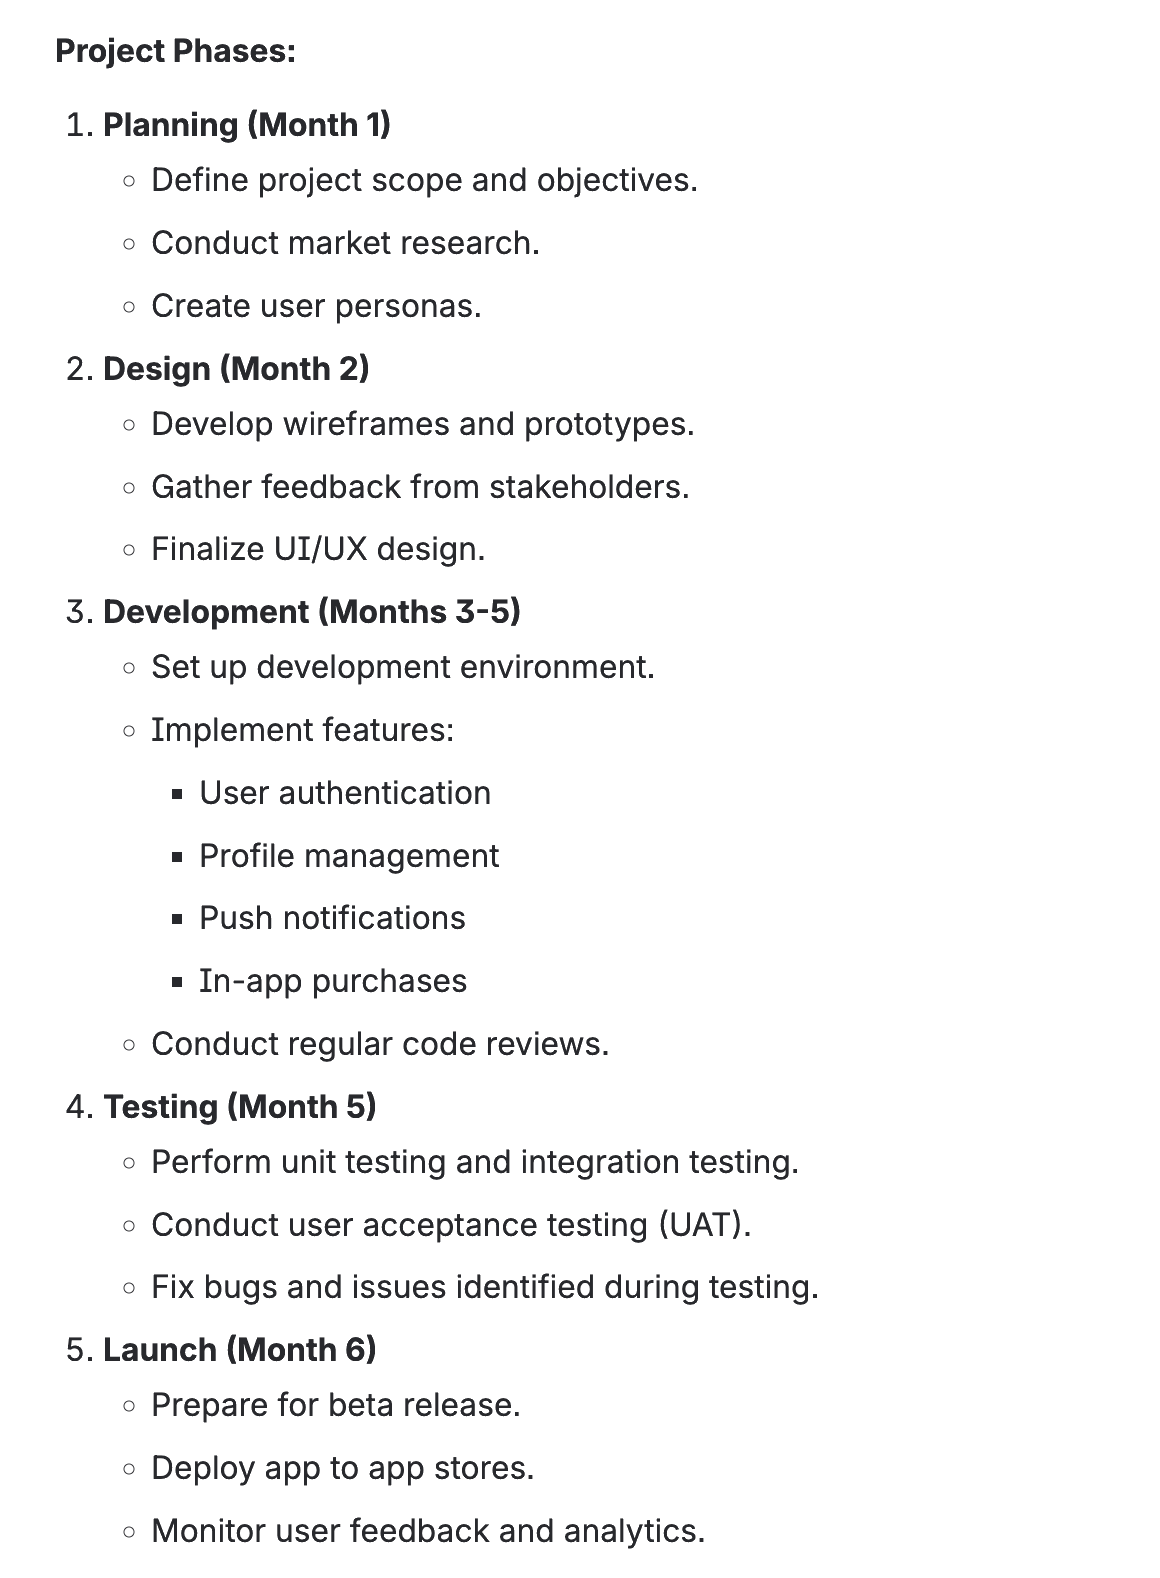
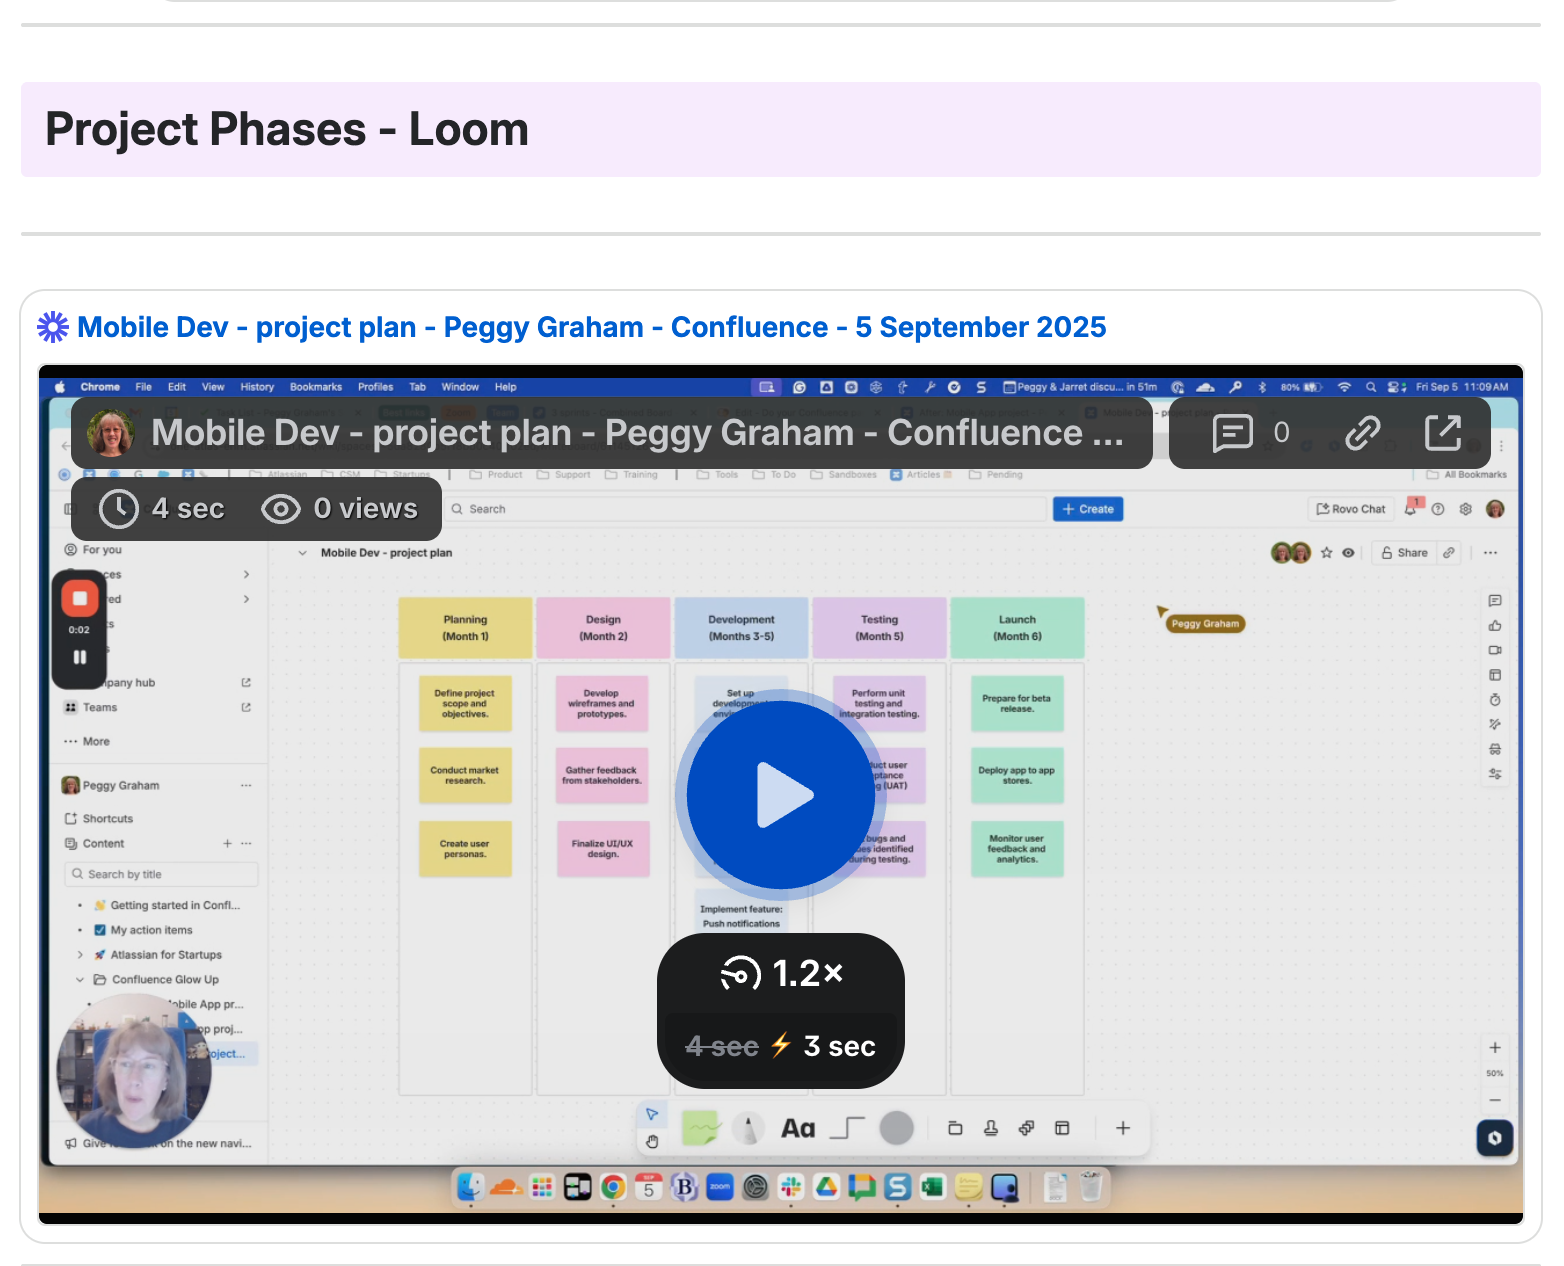
Embed a Confluence whiteboard, Loom, or other content:
- Centralized information & single source of truth: Embedding external content means everything relevant to a project or topic is available in one place, reducing the need to switch between multiple tools or tabs.
- Up-to-date content: Embedded items (like Google Docs or Sheets) reflect real-time updates, ensuring everyone sees the latest version.
| Before: |
After: |
 |
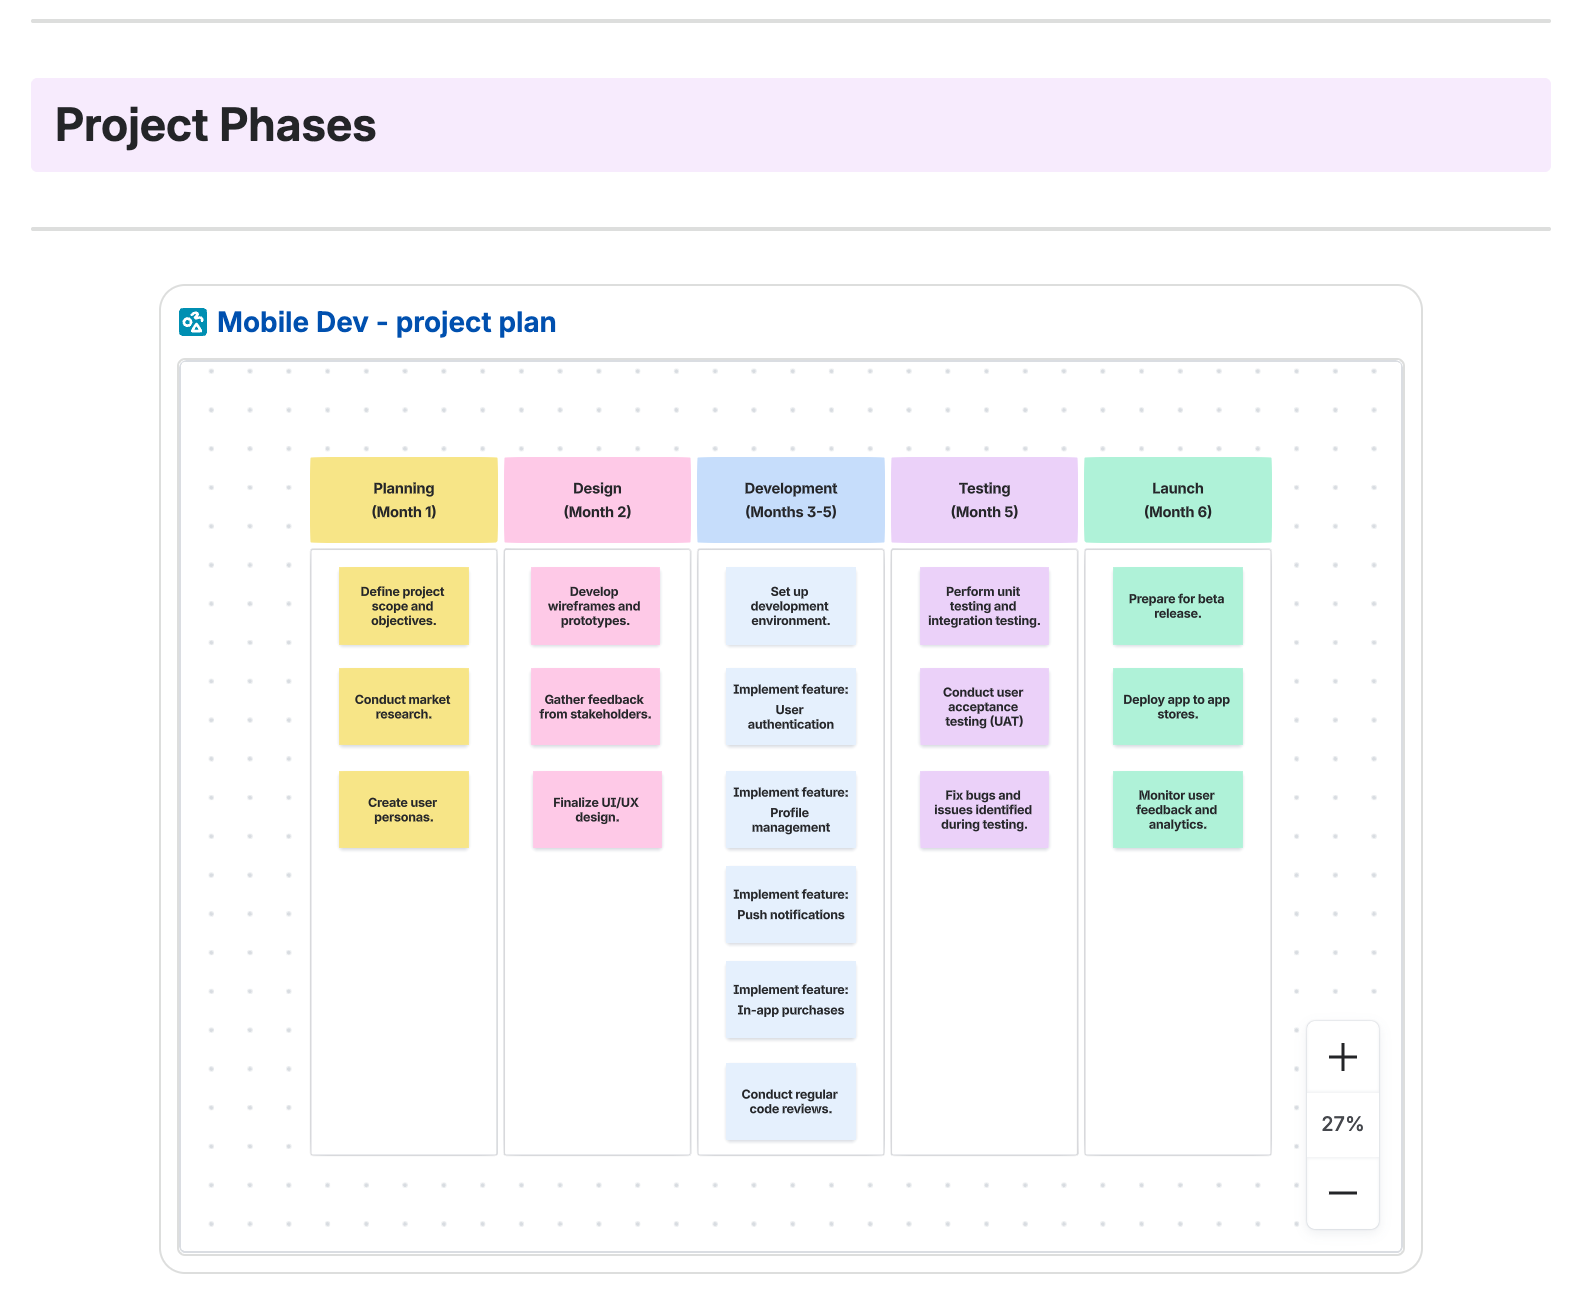
Add content via a whiteboard or Loom
|
📄 Page elements used:
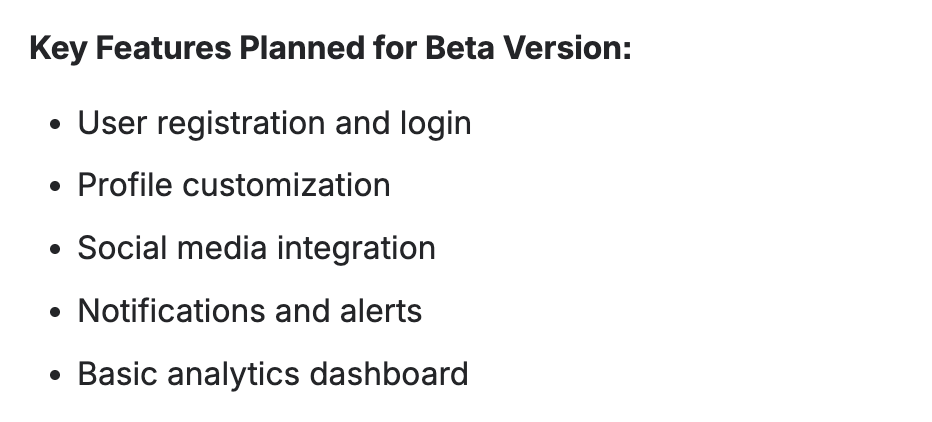
Embed a list of Jira issues:
-
Improved Collaboration:Teams can discuss requirements, decisions, and blockers in Confluence while referencing the actual Jira issues.
-
Centralized information: Meeting notes, project plans, and documentation can all reference the same set of Jira issues, reducing confusion.
-
Embedding Jira issues in Confluence keeps your documentation and project tracking in sync, improves transparency, and streamlines team collaboration. It’s as simple as pasting a link or using the Jira Issues macro!
| Before: |
After: |
 |
 |
📄 Page elements used:
Manage Tasks:
-
Assign responsibility: Action items can be assigned to specific people, making it clear who is responsible for each task.
-
No ambiguity: Everyone knows what they need to do and by when, reducing confusion and missed tasks.
-
Action items in Confluence turn ideas and discussions into actionable, trackable tasks - helping teams stay organized, accountable, and productive.
| Before: |
After: |
 |
 |
📄 Page elements used:
Did you know that you can view ALL Confluence action items assigned to you by clicking on your avatar in the upper right corner and going to Tasks? Another option is to insert the task report macro on a Confluence page, this will give you a report of all tasks assigned to you from one or more Confluence spaces. It looks like this:

💡Confluence tips to remember:
-
Keyboard Shortcuts:
-
/ brings up the macro menu
-
// or /d to quickly add a date - Sep 4, 2025
-
*<space> to create a bulleted list
-
/h# (1-6) quickly lets you add that heading style
-
Full list of Confluence keyboard shortcuts
-
Page Status
-
Add a status to your content
-
You can also create custom page statuses
-
Don’t forget to take advantage of page templates!
Have any favorites I didn’t share?
These are the macros I find myself using repeatedly. Did I miss YOUR favorite macro? Let me know in the comments about your favorite Confluence page macros!


