Managing tasks in Jira can be overwhelming, especially when multiple issues need updates. Instead of manually editing each one, Jira’s bulk update feature lets you make changes in just a few clicks, saving time and effort.
What is Jira Bulk Update?
Bulk updates in Jira allow you to modify multiple issues at once, including changing fields, assignees, and statuses. This is particularly useful when handling a large number of tasks that share common attributes, like bugs with the same severity or tasks that need reassignment.
However, there are some restrictions. If selected issues follow different workflows, they must be transitioned in separate groups. Also, Jira limits bulk changes to 1,000 issues at a time to prevent performance issues.
Getting Ready for Bulk Updates
Before you start, make sure you have the right permissions:
- Move Issue Permission for the specific project
- Bulk Change Permission at the global level Without these, Jira won’t allow bulk updates, so check your access beforehand.
How to Perform a Bulk Update in Jira
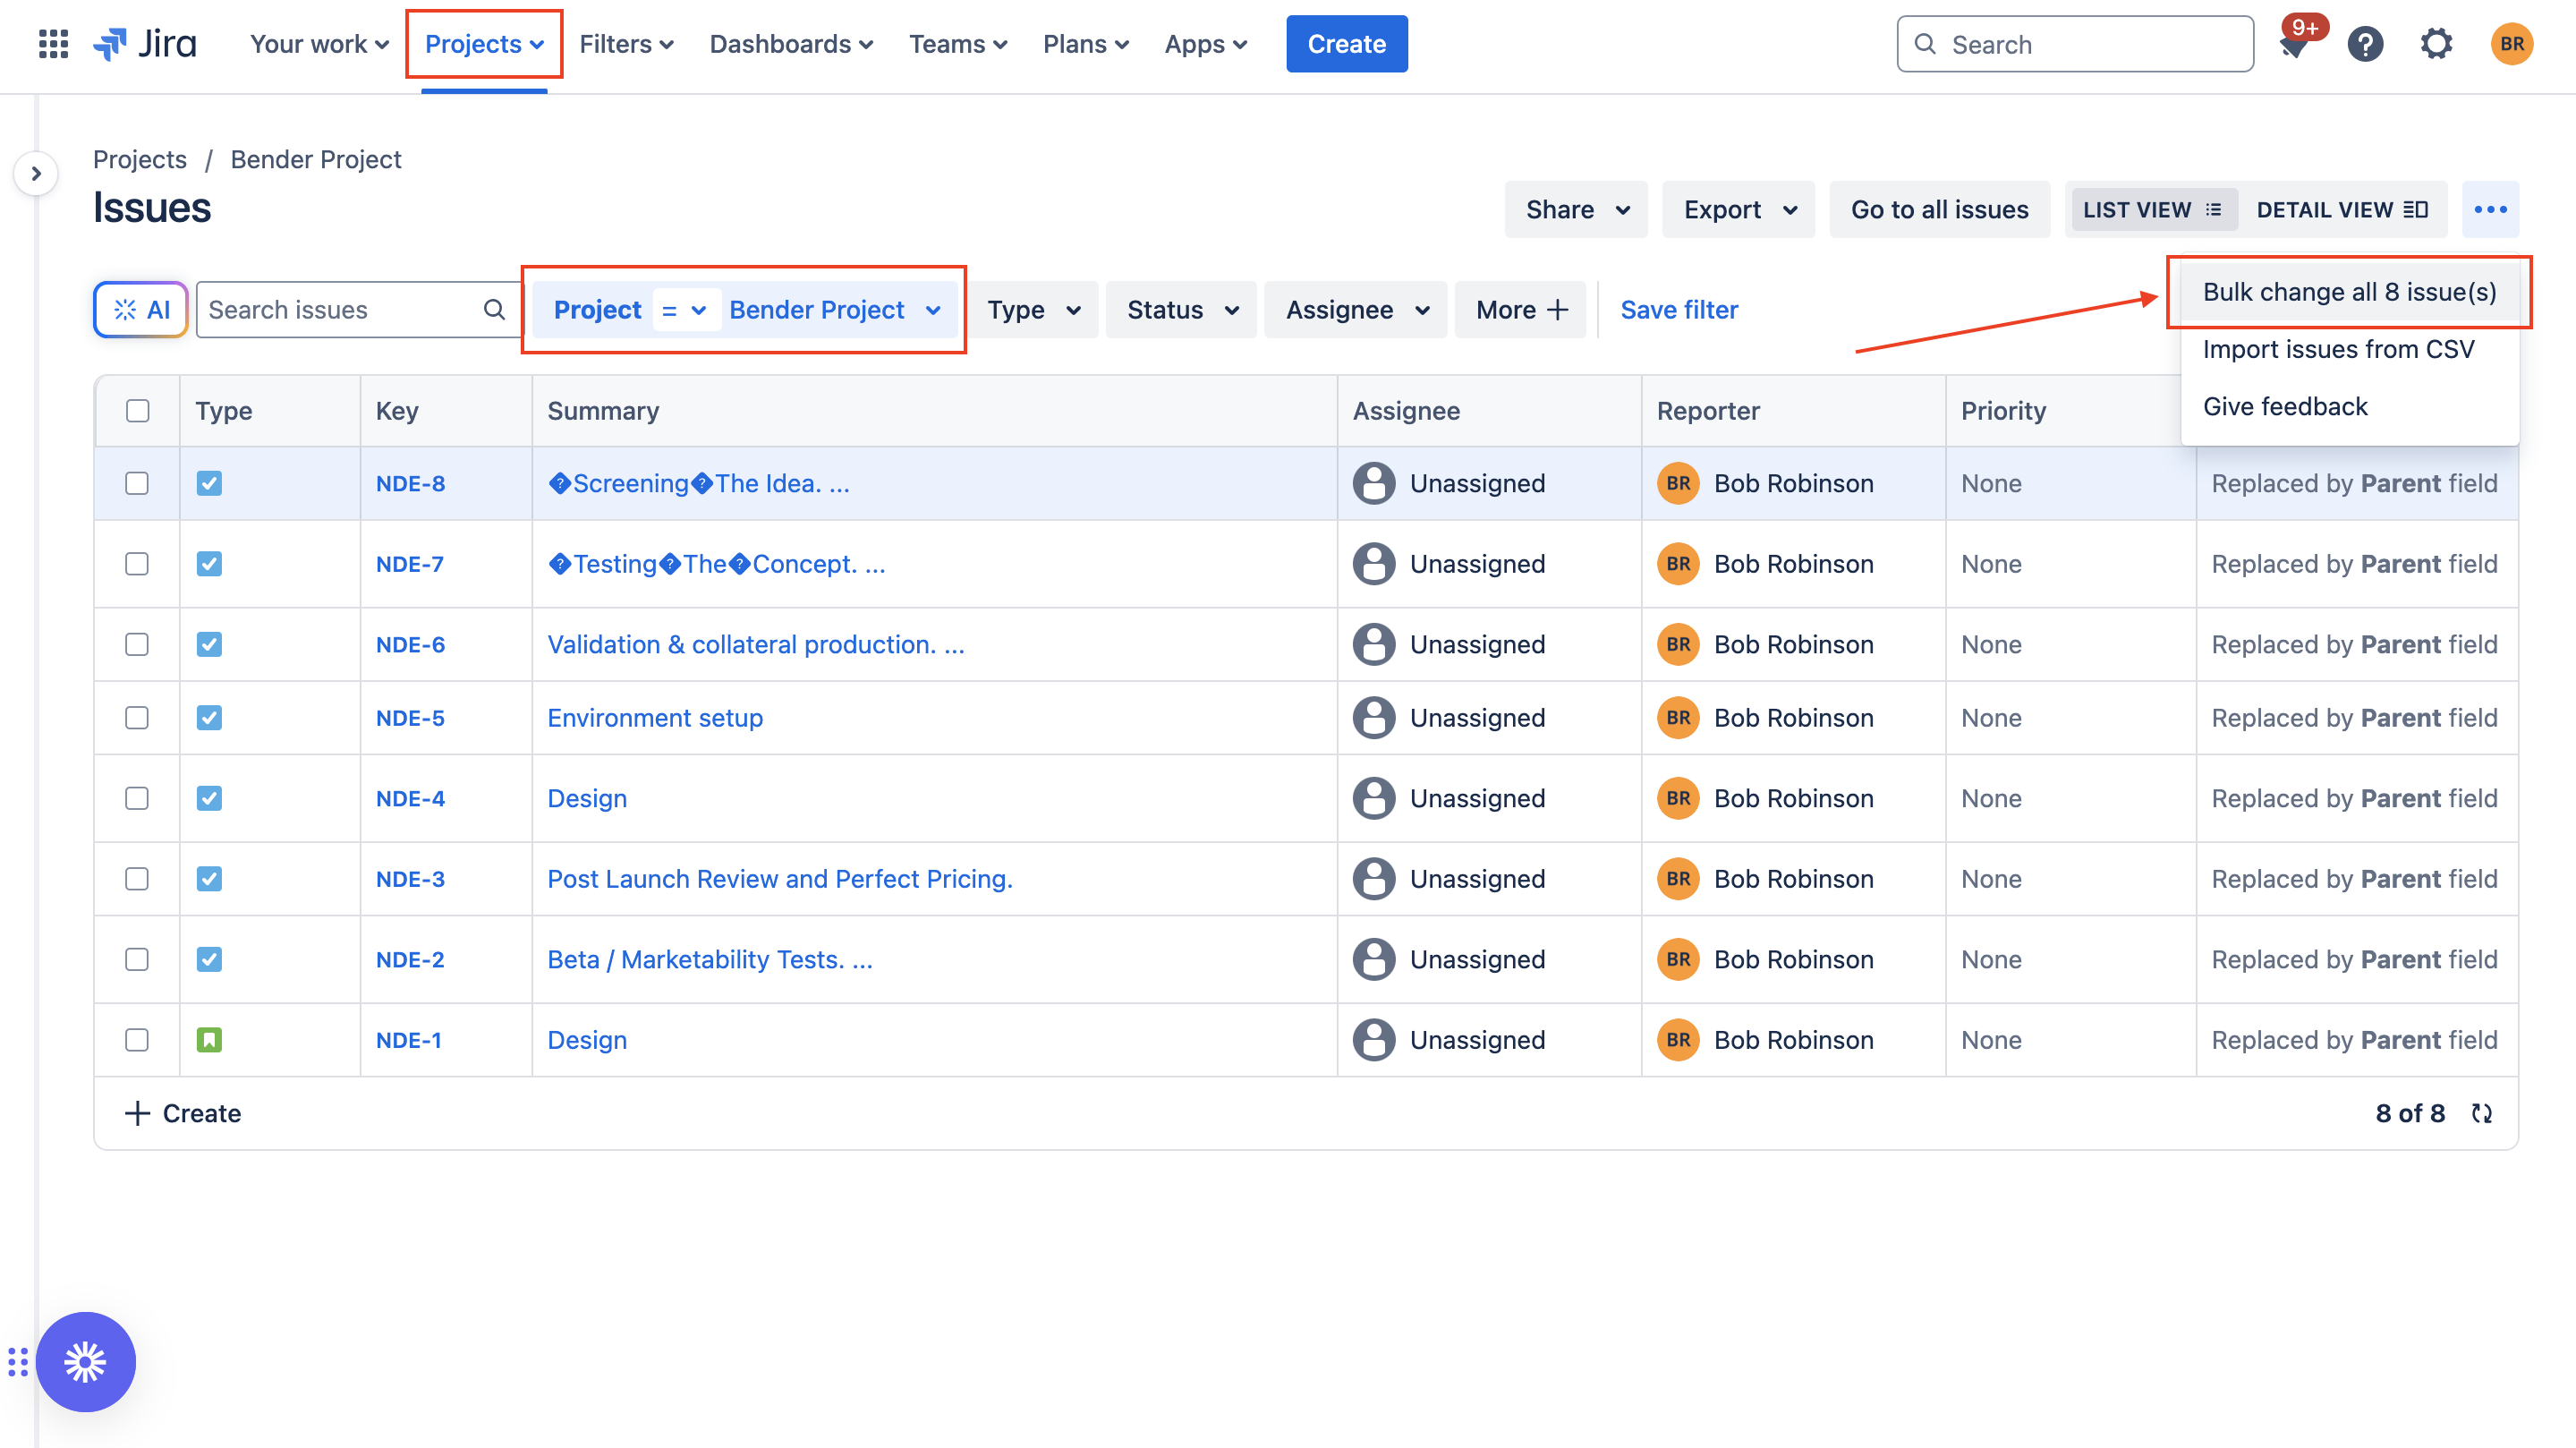
- Open the Issues tab and select your project.
- Use filters or search to find the issues you want to update.
- Click on the three dots (...) and choose Bulk Change.
- Select the issues you want to edit.
- Choose the operation (update fields, reassign tasks, change statuses, etc.).
- Enter the necessary details and preview your changes.
- Confirm and apply the updates.
Make sure to let Jira process all changes before closing the dialog to avoid incomplete edits.
Smart Ways to Use Bulk Updates
Bulk updates are more than just a convenience—they’re a strategic tool for managing projects efficiently:
- Backlog Cleanup: Adjust priorities, assign tasks, and set deadlines in one go.
- Migrating to Jira: Quickly update fields, statuses, and assignees during transitions.
- Adapting to Changes: Modify issue types or custom fields as project needs evolve.
Advanced Bulk Editing with ActivityTimeline
For even greater efficiency, ActivityTimeline offers Bulk Rescheduling, allowing you to quickly shift or reassign tasks when unexpected changes arise. Whether an employee calls in sick or an urgent task needs immediate attention, you can:
- Reschedule, unschedule, or reassign Jira tasks in one operation.
- Move tasks forward or backward to adjust timelines easily.
- Reassign work to another team member when someone is unavailable.
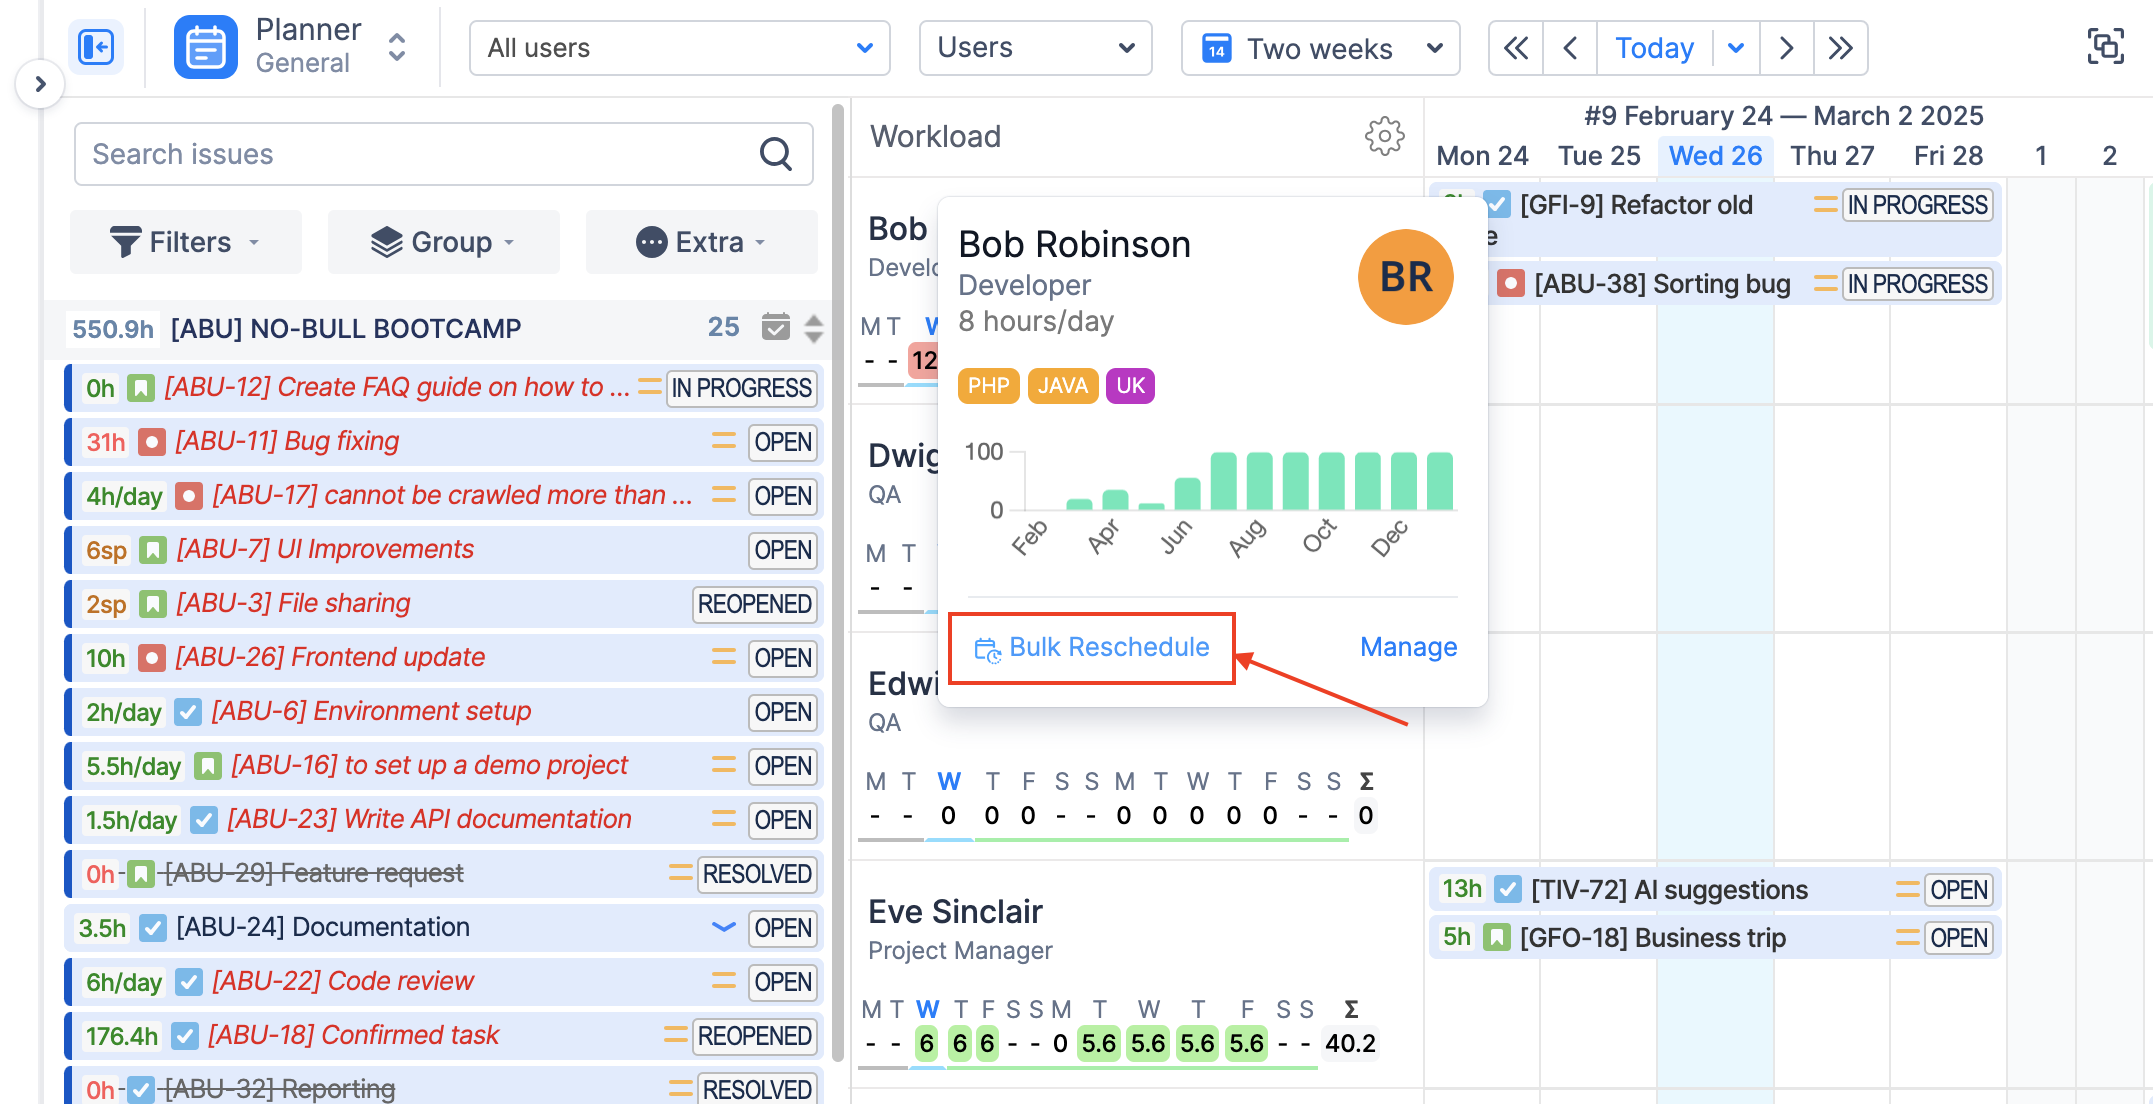
To shift related items on the timelines forward or backward and thus bulk update Jira tasks, you will have to:
-
Click on the specific user and choose a Bulk Reschedule option on User Card
-
Choose a desirable action – move forward or backward
-
Specify the User to which issues are related
-
Specify the Project to which issues are related
-
Specify the Period in From and To fields which issues should be covered
-
Specify the Type of issues
-
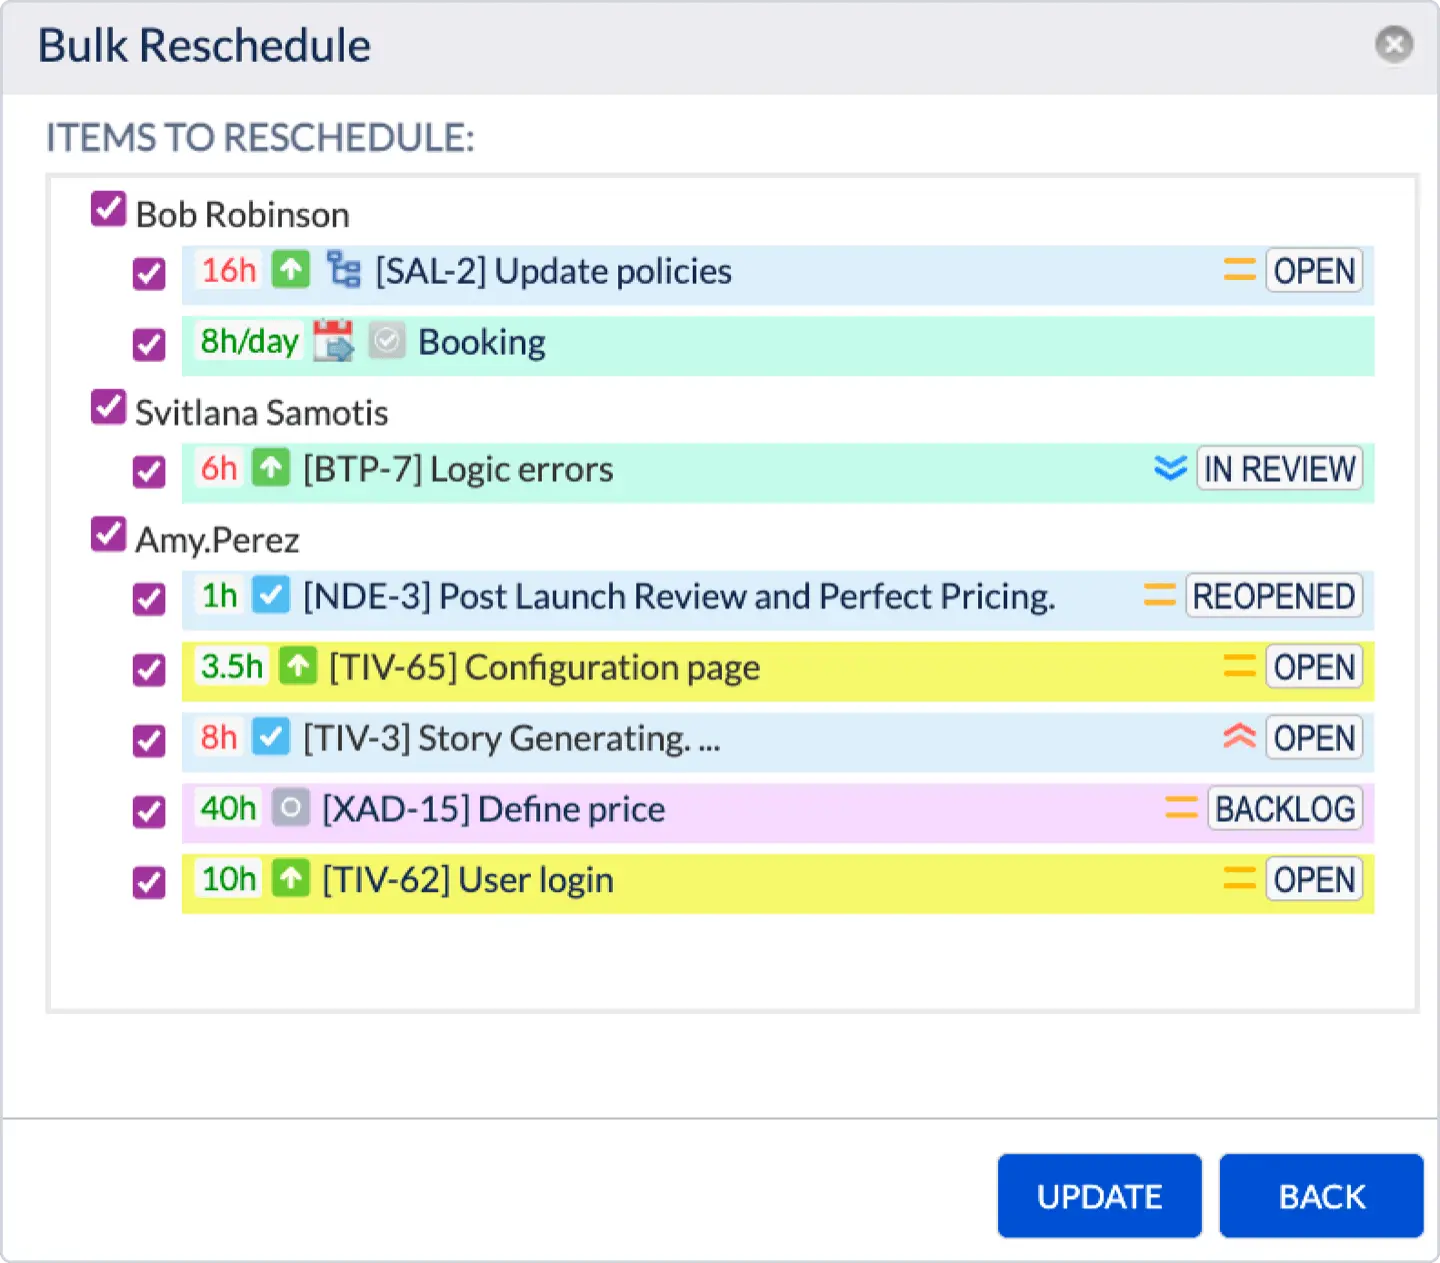
Select exact Items
The system will move all current Jira issues and events starting from the first visible day on the screen by one day, or one day back (depending on the option clicked). It will include all JIRA Issues and Placeholder, Booking, and Note types.
Bulk Rescheduling is available not only for the specific user but also for the whole team! To move scheduled Jira tasks for a specific team, find the “Extra” tab on the Left Panel and choose the Bulk Reschedule option. After that, just specify the Team, not the specific User.
In case, when the user got sick you need to reassign some work, take the following actions:
-
Open User Card and click on the Bulk Reschedule
-
Choose an action “Reassign to” and choose a new assignee
-
Specify the Team or User to which issues are related
-
Specify the Project to which issues are related
-
Specify the Period in From and To fields which issues should be covered
-
Specify the Type of issues
-
Select exact Items
Final Thoughts
Mastering Jira’s bulk update feature can transform your workflow, reducing manual effort and keeping your projects organized. Next time you’re faced with a mountain of Jira issues, remember—bulk updates are your shortcut to efficiency.

