Explore the Forge app building process
10 min
Beginner
By the end of this lesson, you’ll be able to:
- Describe the key steps in the Forge development lifecycle.
- Recognize the file and folder structure and their uses in a local Forge app project.
Build an app using Forge
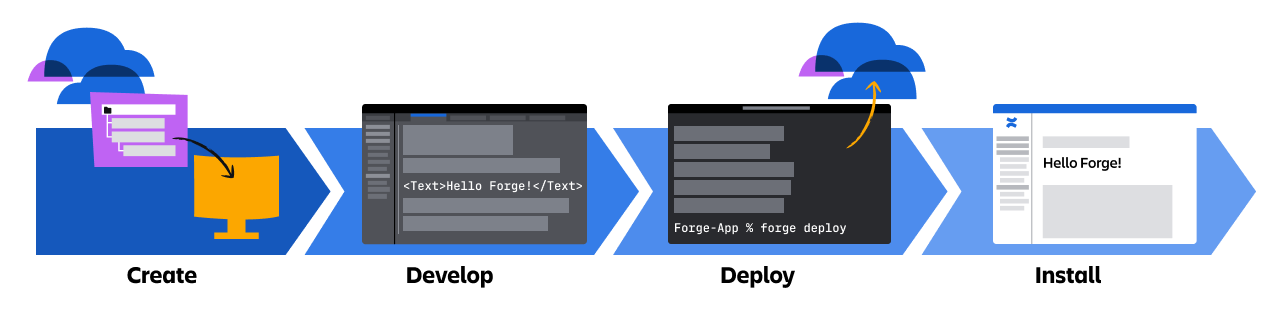
Building an app in Forge has four main steps: create, develop, deploy, and install. Let’s look at what happens in each stage and how they connect.
👇This is the Forge app building process.
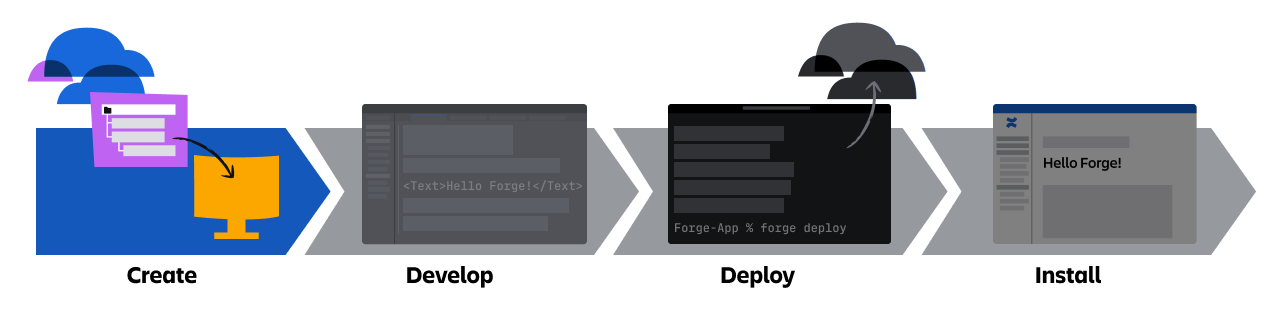
Create the app
👇The first step to build an app is to create the app’s structure.
To start building with Forge, you first need to create a base file structure locally as a scaffolding for your app. This is done using the command in the Forge CLI: forge create.
When you run the Forge create command, Forge will walk you through a short interactive setup, prompting you with a few questions about your app.
👇Click the icons below to view the process to create the app.
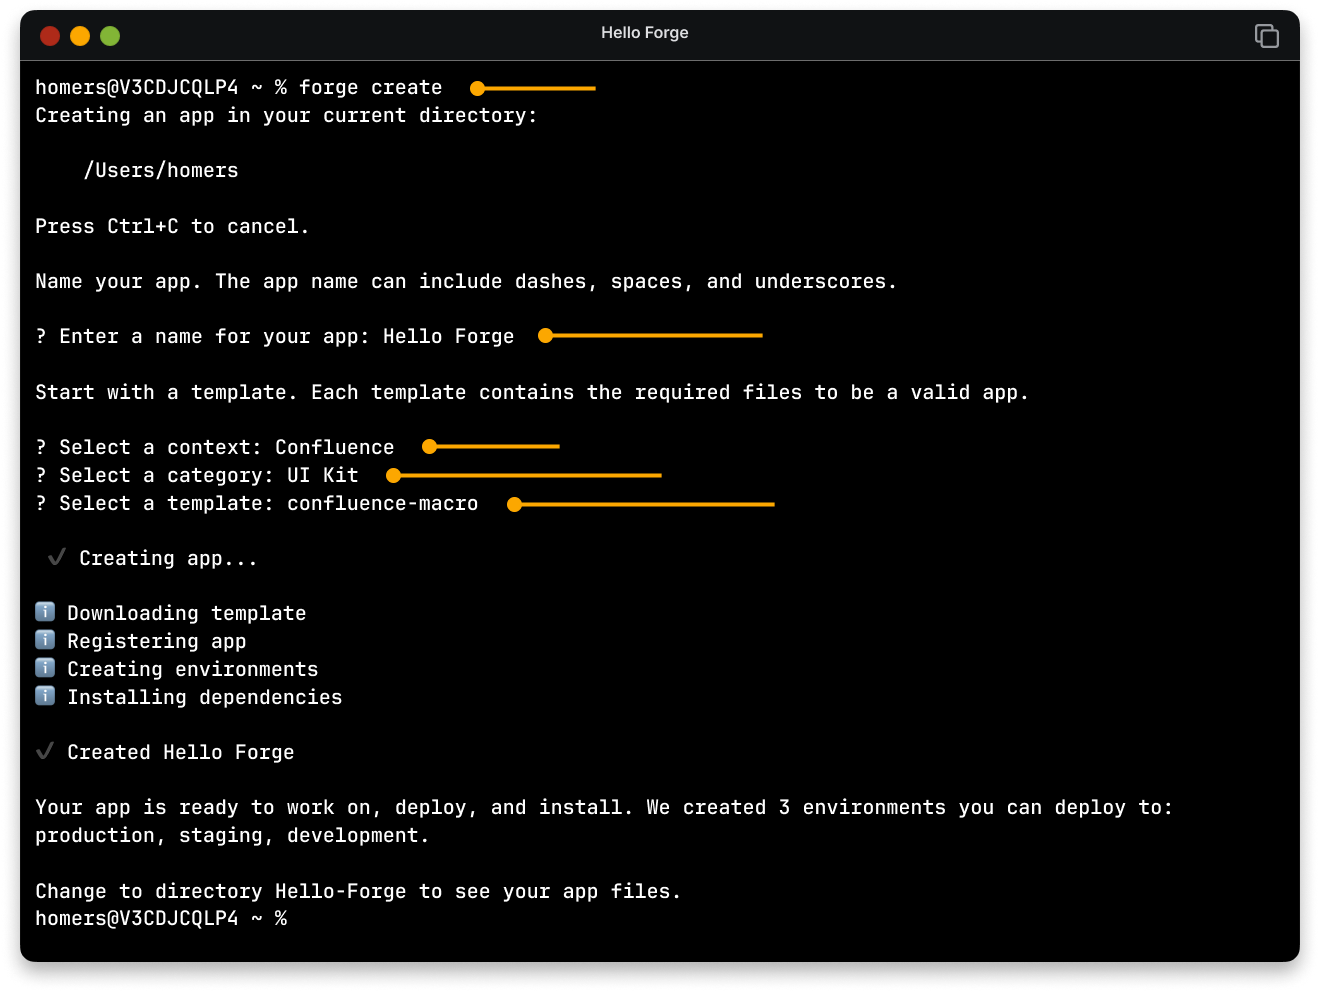
When you run the forge create command, several key setup tasks are automatically handled in the background to get your app ready for development.
During the create process, Forge:
- Downloads your app by generating a new local folder and setting up the necessary file structure. This includes key files like the manifest.yml and a starter template based on the context and category you selected, such as UI Kit, giving you a working code base to start from.
- Registers your app by assigning it a unique identifier within the Forge platform, which allows you to manage, deploy, and track it.
- Creates your app’s environments: development, staging, and production.
- Installs required dependencies for the app to run properly, including any libraries or packages used in the template.
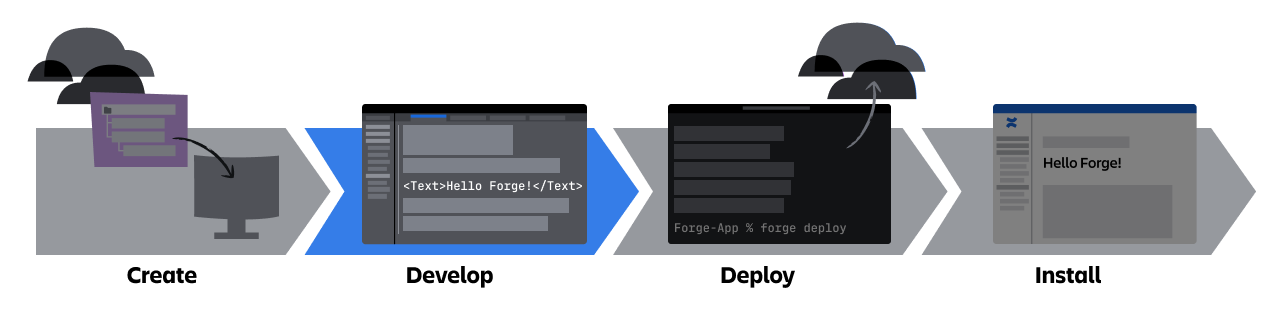
Develop the app
👇The second step to build an app is to develop the app.
Examine the project’s file structure
After creating your app, the next step is to develop it. This is where you define what your app does and how it behaves. Forge create generates a new app directory locally where it downloads a project structure based on the template you selected. This folder contains everything you need to start building and customizing your Forge app.
Now that your Forge app is created, the development process involves editing a few key files to control how the app looks, behaves, and interacts with Atlassian apps. You'll be editing these files locally in your code editor.
👇 Click the icons below to learn more about what is found in the project folder.

You may see other files within the folder, such as package.json or .gitignore, but we won’t be covering these in detail.
Deploy your app
👇The third step to build an app is to deploy the app.
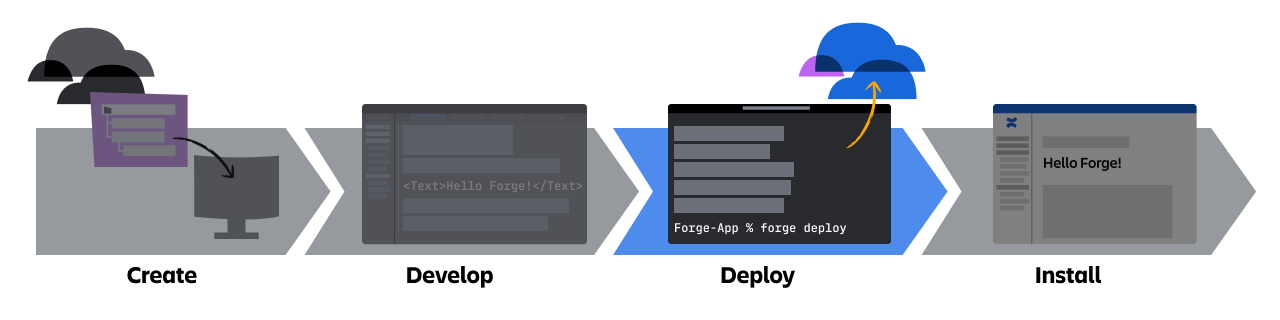
When you're ready to test your app in the cloud, use the command: forge deploy.
The forge deploy command uploads your app code to the Forge staging platform’s development environment.
Deployment is necessary before you can install or run your app in an Atlassian app instance (such as Jira or Confluence).
Deployment is necessary before you can install or run your app in an Atlassian app instance (such as Jira or Confluence).
If you make changes to your code or configuration, you’ll need to redeploy for those updates to take effect. Each deployment also includes automatic validation of your app’s structure, ensuring that errors are caught before installation.
Install your app
👇The fourth step to build an app is to install the app:
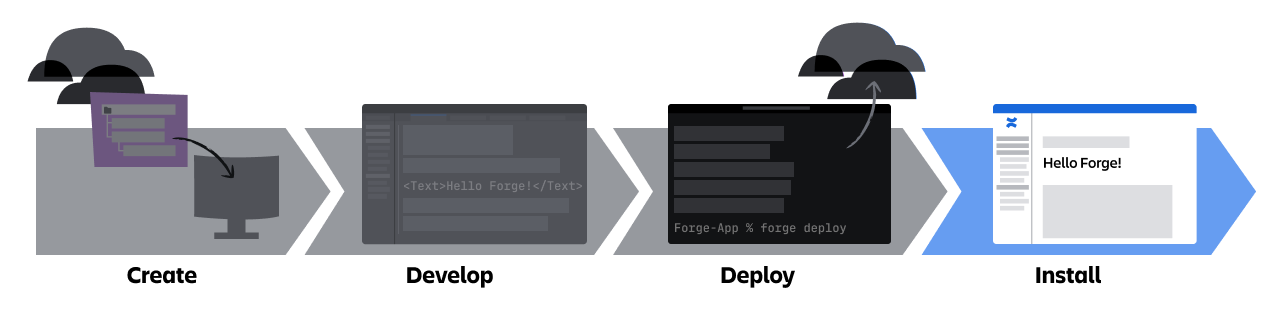
After deploying, you need to install the app on an Atlassian site by running the command: forge install.
Running forge install for your app makes it available for testing and use within that site.
How was this lesson?
next lesson
What is Forge?
- Build apps for the Atlassian ecosystem
- Why use Forge
- How teams use Forge