Community resources
Community resources


How to anonymize content of specific projects in Jira
GDPR compliance is a topic that primarily concerns working councils and Jira admins. This is because personal data or entire projects must be anonymized after a certain period of time. We will show you how you can fully anonymize Jira users and projects automatically and with just a few clicks!
As Jira admin, you surely know the problem with GDPR compliance: After a certain period of time, the content of specific Jira issues or whole projects should be anonymized for all users. Especially working councils are often affected by such cases. That’s why a tool that allows such a large operation with just a few clicks and also completely automatically would be an added value.
After all, if you delete Jira issues or a complete project, you also lose the editing history. So a way must be found to be GDPR-compliant on the road, but also to ensure traceability within a company.
GDPR (DSGVO) and Security for Jira‘s Data Cleaner module is perfect for this task. With it, you can easily meet all these GDPR requirements.
In this guide, we will show you how to easily anonymize specific areas in Jira.
GDPR compliance step-by-step: How to anonymize content of specific projects in Jira
Step 1: Navigate to the Data Cleaner Dashboad and click on the section “Anonymize Tickets”.

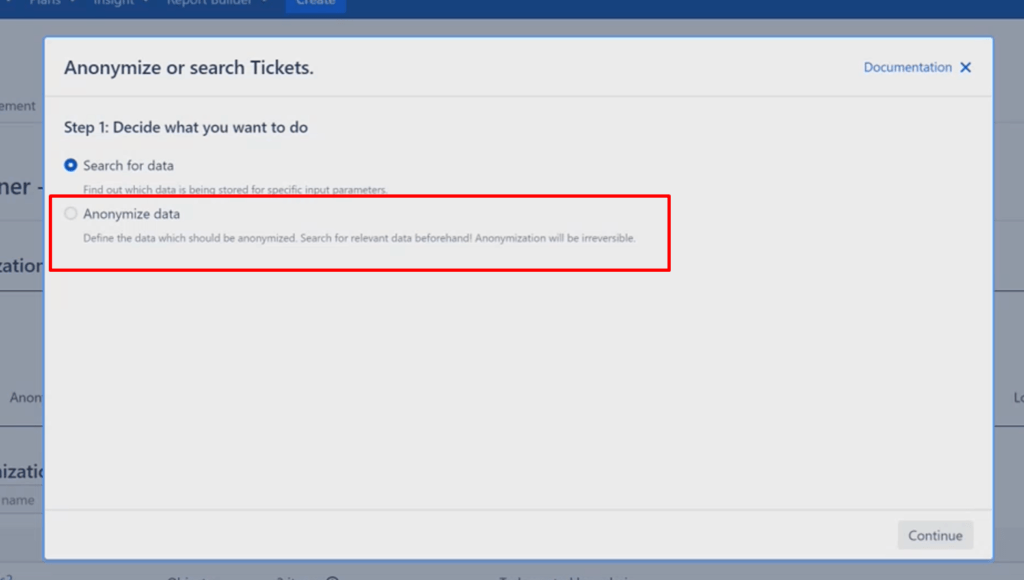
Step 2: Now, you’ll see this screen:
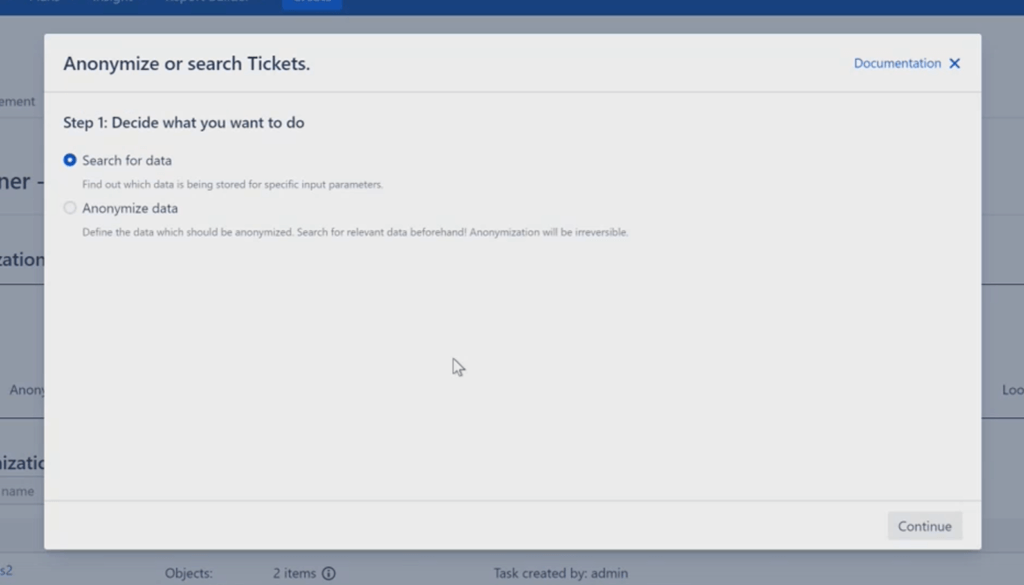
Here, you can decide whether you want to search for data first or anonymize it directly. We recommend searching for the data and then anonymizing it in the next step. This gives you an additional security.
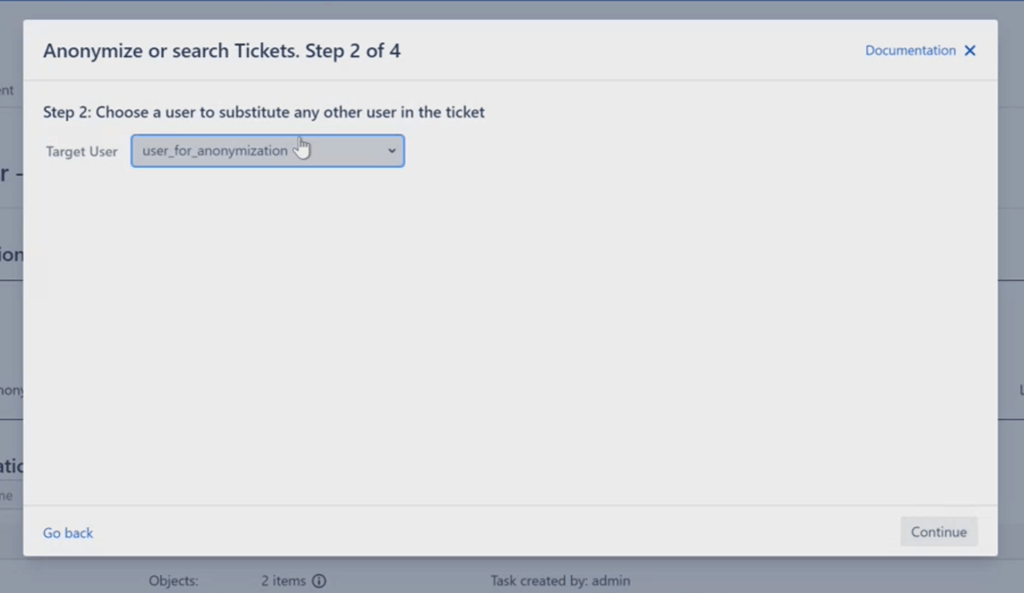
Step 3: Now, we select a target user. Later, we will replace all found users in the Jira project with this one. This is necessary because in Jira it is not possible for a ticket to exist without a reporter. In order to have the information anonymized and, thus, GDPR-compliant, we create an imaginary user without personal data that replaces the real users. We name our target user “user_for_anonymziation”.
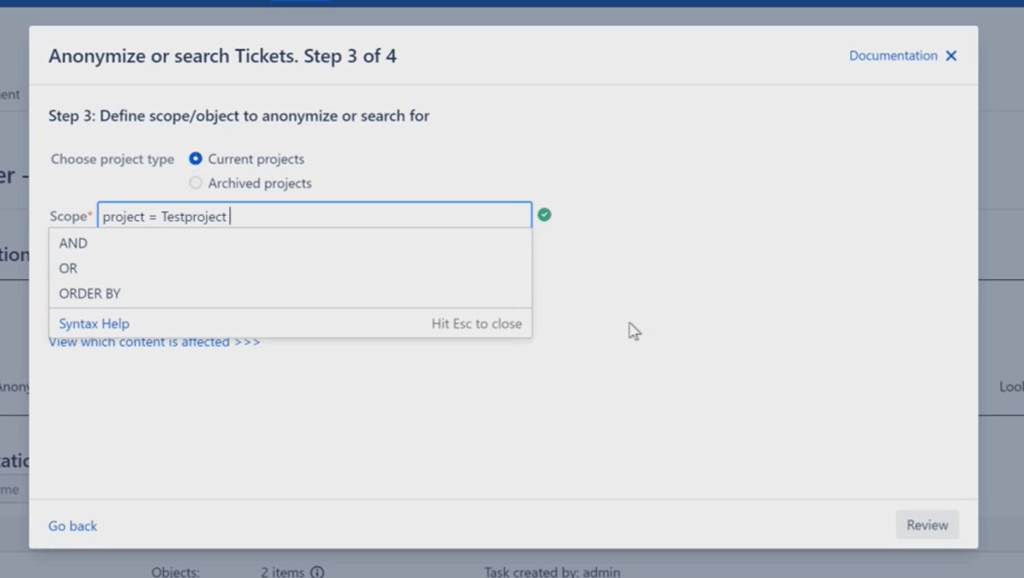
Step 4: In the next step, we define the scope or object we want to anonymize in Jira. Here, you are also free to filter for already defined projects. You can search for one or more projects at once. With JQL, you enter your specific filters in the search box.
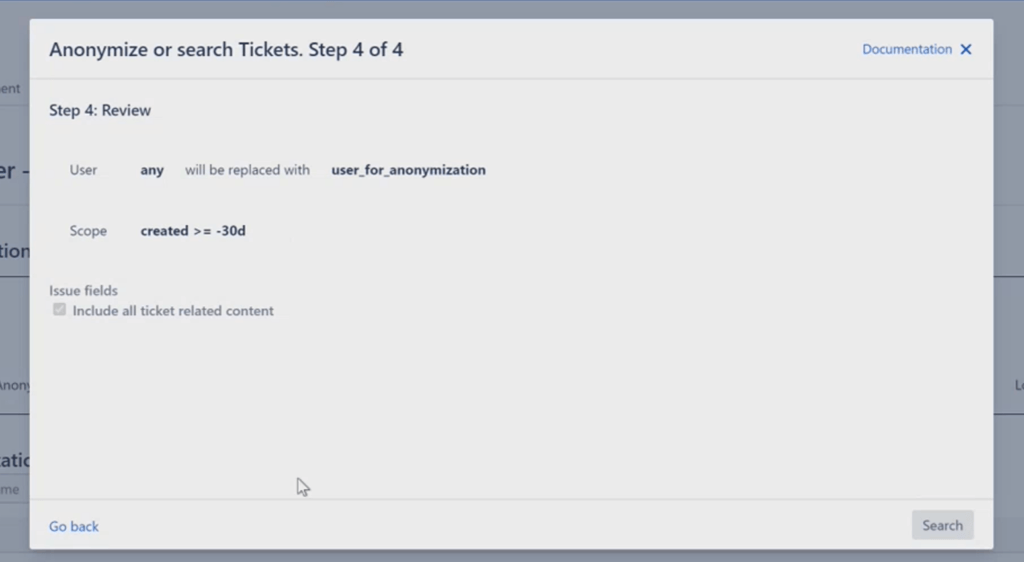
Step 5: Now, your selection is shown again. By clicking on “Search”, the selection of Jira tickets and the possible anonymization will be displayed (without it being performed already now).
By default, the “Issue Fields” checkbox is enabled. This means that all content related to the tickets will be anonymized.
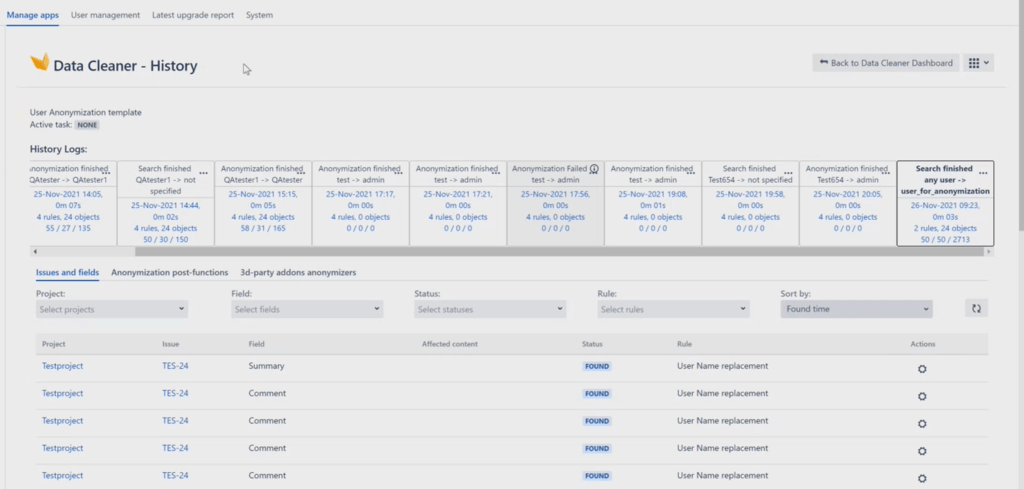
Step 6: In the history, you will now see all related objects that are considered during anonymization.
Step 7: If you are satisfied with the selection, you can repeat the previous steps. To do this, click the “Anonymize Tickets” button again, but select “Anonymize data” instead of “Search for Data.”
Enter the same filters and the real Jira users will be replaced with the special imaginary user.
Step 8: You can see that the GDPR anonymization was successful by the status “Anonymized”, which will then appear in the history.
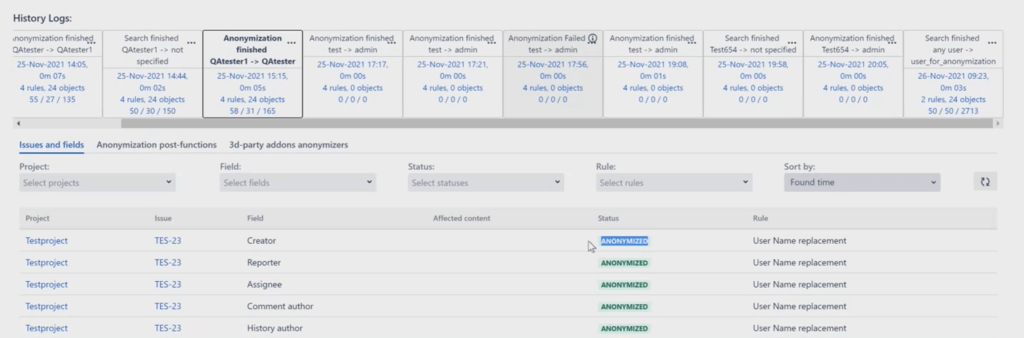
And here we go! In the last screenshot, you can see columns showing the anonymized GDPR content. Congratulations on the successful Jira anonymization!
Was this helpful?
Thanks!
Andreas Springer _Actonic_

About this author
Head of Marketing
Actonic GmbH
Germany
2 accepted answers
Atlassian Community Events
- FAQ
- Community Guidelines
- About
- Privacy policy
- Notice at Collection
- Terms of use
- © 2024 Atlassian
0 comments